Whale Gulper 220 Manual

| Mærke: | Whale |
| Kategori: | Pomp |
| Model: | Gulper 220 |
Har du brug for hjælp?
Hvis du har brug for hjælp til Whale Gulper 220 stil et spørgsmål nedenfor, og andre brugere vil svare dig
Pomp Whale Manualer

1 August 2024

21 Juli 2024

18 Juli 2024
Pomp Manualer
- Monzana
- Ubbink
- Generac
- Hozelock
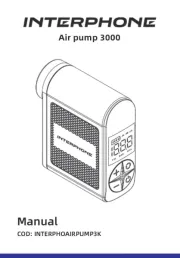
- Interphone
- Madimack
- Anova
- Comet
- Barwig
- Nowax
- Toolcraft
- Tacklife
- Wetelux
- Einhell
- Superior Pump
Nyeste Pomp Manualer
1 April 2025
1 April 2025

1 April 2025
1 April 2025

1 April 2025
1 April 2025
1 April 2025
1 April 2025

1 April 2025
1 April 2025