Yealink YPS20 Manual


Læs gratis den danske manual til Yealink YPS20 (5 sider) i kategorien Dør / vindue sensor. Denne vejledning er vurderet som hjælpsom af 2 personer og har en gennemsnitlig bedømmelse på 5.0 stjerner ud af 1.5 anmeldelser. Har du et spørgsmål om Yealink YPS20, eller vil du spørge andre brugere om produktet?

Side 1/5
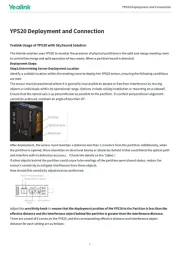
YPS20 Deployment and ConnectionYPS20 Deployment and Connection
Yealink Usage of YPS20 with SkySound SolutionYealink Usage of YPS20 with SkySound Solution
The Yealink solution uses YPS20 to monitor the presence of physical partitions in the split and merge meeting room
to control the merge and split operation of two rooms. When a partition board is detected
Deployment Steps:Deployment Steps:
Step1:Determining Sensor Deployment LocationStep1:Determining Sensor Deployment Location
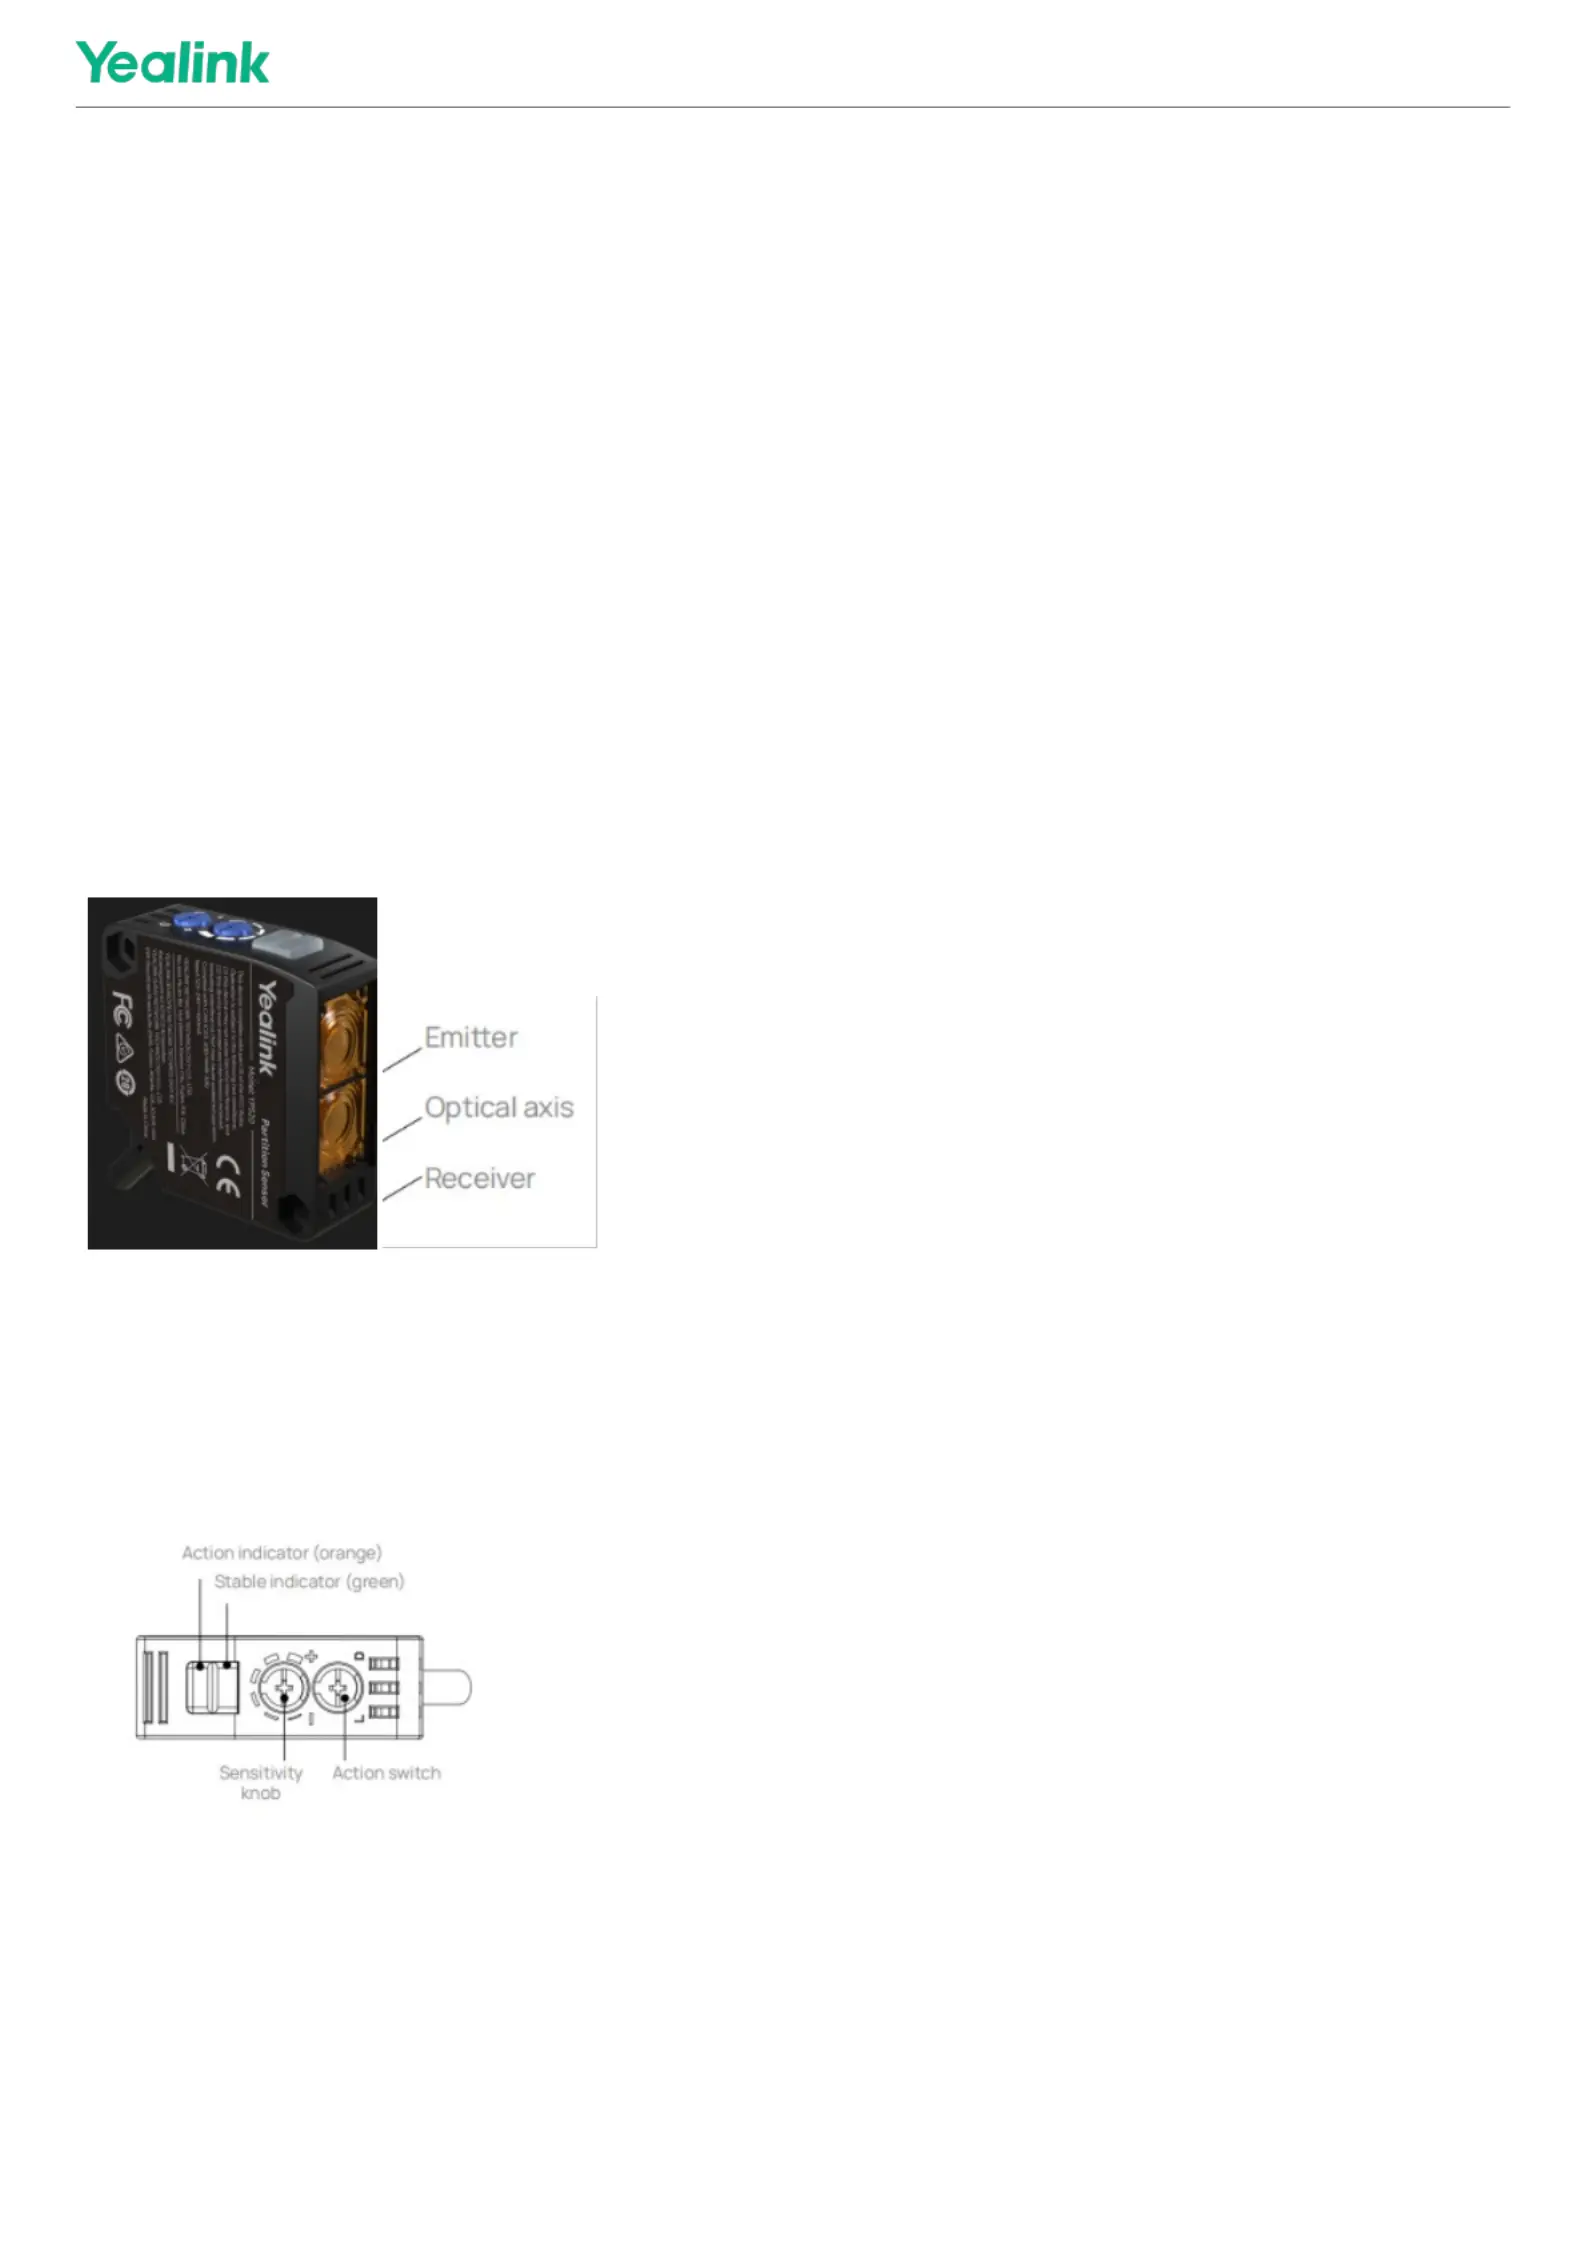
Identify a suitable location within the meeting room to deploy the YPS20 sensor, ensuring the following conditions
are met:
objects or individuals within its operational range. Options include ceiling installation or mounting on a sidewall.
Ensure that the optical axis is as perpendicular as possible to the partition. If a perfect perpendicular alignment
cannot be achieved, maintain an angle of less than 30°.
After deployment, the sensor must maintain a distance less than 1.5 meters from the partition. Additionally, when
the partition is opened, there should be no structural beams or obstacles behind it that could block the optical path
and interfere with its detection accuracy. (Check the details on the Table1
If other objects behind the partition could cause false readings of the partition open/closed status, reduce the
sensor's sensitivity to mitigate interference from these objects.
How should this sensitivity adjustment be performed.
Adjust the sensitivity knobsensitivity knob ensure that the deployment position of the YPS20 to the Partition is less than theensure that the deployment position of the YPS20 to the Partition is less than the to
effective distance and the interference object behind the partition is greater than the interference distance.effective distance and the interference object behind the partition is greater than the interference distance.
There are a total of 6 Levels on the YPS20, and the corresponding effective distance and interference object
distance for each setting are as follows:
YPS20 Deployment and Connection
1
Table 1
(There may be a 10% variation in values between individual units.)
Step2:Wiring Connection Between YPS20 and AP08Step2:Wiring Connection Between YPS20 and AP08
Connect the YPS20 to the Phoenix terminal male connector,then connect it to the AP08 GPIO Phoenix terminalAP08 GPIO Phoenix terminal
female connectorfemale connector.Line connection showed as below.Then power on the AP08.
Step3:Check the Position is correct or notStep3:Check the Position is correct or not
After selecting the installation position and connect the YPS20 to AP08, open and close the partition while
observing the indicator lights to verify that the sensor's detection status is normal before securing it in place.
And make sure the "Action switch" keep on "D"position.
If any of the following abnormalities occur, the sensor's signal reception is faulty:
Green light turns off or flashes:Green light turns off or flashes:
The sensor may be too far from the partition or operating at the edge of its detection range. Solution: Reduce
the distance between the sensor and the partition.
Green light remains steady, but the orange light flashes or turns on when rooms are merged:Green light remains steady, but the orange light flashes or turns on when rooms are merged:
Indicates that an obstruction is still interfering with the sensor's detection. Solution: Increase the sensor-
partition distance or lower the sensitivity.
Green light remains steady, but the orange light turns off when rooms are divided:Green light remains steady, but the orange light turns off when rooms are divided:
The sensor fails to detect the partition (especially if it is black). Solution: Decrease the sensor-partition
distance.
Step4:Deployment ConsiderationsStep4:Deployment Considerations
Estimate the distance between the sensor deployment location and the AP08 installation position. If this
distance is less than 10 meters, the cable length provided with the YPS20 will be sufficient for deployment.
If the estimated distance is likely to exceed 10 meters, determine the required additional cable length based on
the estimation. You may use AWG26 wire to extend the cable (maximum extension: 20 meters).
Once the location is confirmed to meet the sensing requirements, proceed with securing and deploying the
sensor.
Step5:Handling Special CasesStep5:Handling Special Cases
Under normal circumstances, we require the sensor's infrared beam to be perpendicular to the partition.
However, when the partition's position makes true perpendicular alignment impossible, a limited deviation
angle is permitted. This angle must generally not exceed 30°,and should keep the distance between YPS20 to
Partition less than 1.5m.
The sensor operates by emitting infrared light that reflects off the partition to detect its open/closed status. An
angled installation will reduce the effective detection range, which can be compensated for by slightly
decreasing the distance between the sensor and the partition.
Whenever possible, avoid installing the sensor in locations exposed to direct sunlight or strong indoor lighting,
as intense light interference may cause false readings.
Step6:Room Designer settingStep6:Room Designer setting
YPS20 Deployment and Connection
2


Produkt Specifikationer

Mærke: Yealink
Kategori: Dør / vindue sensor
Model: YPS20

Har du brug for hjælp?

Hvis du har brug for hjælp til Yealink YPS20 stil et spørgsmål nedenfor, og andre brugere vil svare dig


Dør / vindue sensor Yealink Manualer

Yealink

Yealink YPS20 Manual

29 Juli 2025

Dør / vindue sensor Manualer

Nyeste Dør / vindue sensor Manualer

Pentatech

Pentatech MA80KM Manual

24 November 2024
Optex

Optex OM-106C Manual

14 November 2024
Optex

Optex OA-6500 Manual

14 November 2024
Kidde

Kidde K10LLDCO Manual

13 September 2024
Kidde

Kidde 2030-DCR Manual

12 September 2024
Setti+

Setti+ SS524 Manual

19 Juni 2024
Steren

Steren ALA-010 Manual

5 Juni 2024