Atdec VFS-DV Manual
Læs gratis den danske manual til Atdec VFS-DV (2 sider) i kategorien Ikke kategoriseret. Denne vejledning er vurderet som hjælpsom af 15 personer og har en gennemsnitlig bedømmelse på 5.0 stjerner ud af 8 anmeldelser.
Har du et spørgsmål om Atdec VFS-DV, eller vil du spørge andre brugere om produktet?
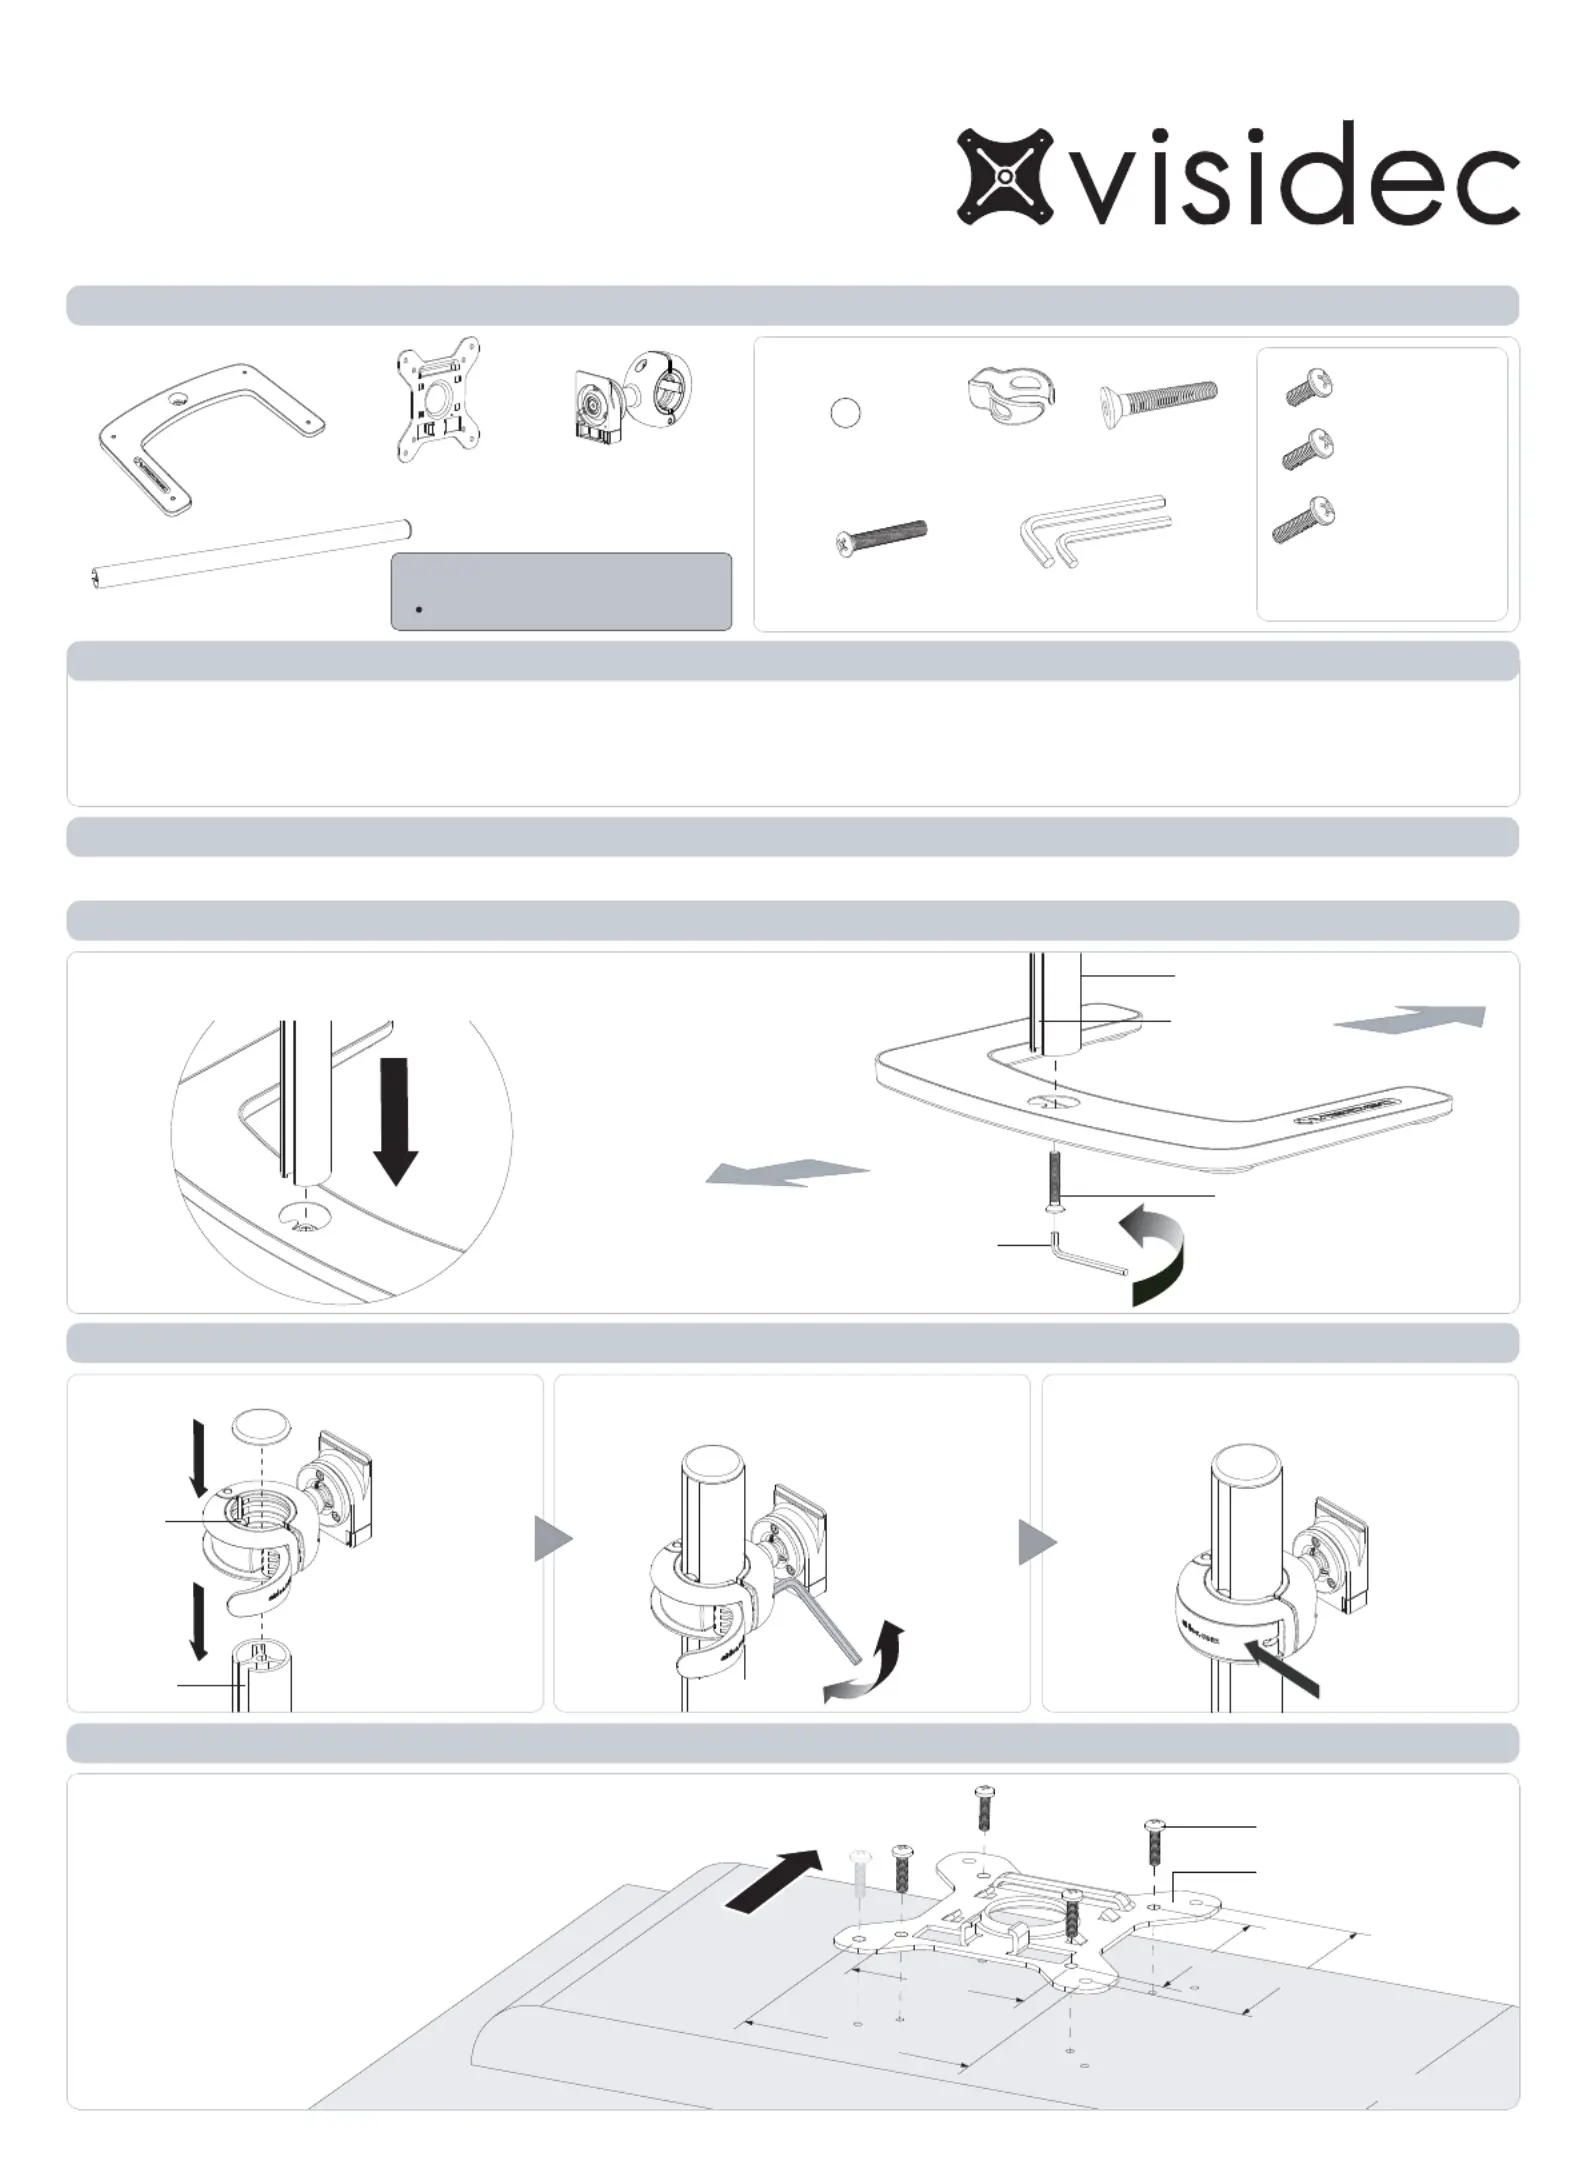
Produkt Specifikationer
| Mærke: | Atdec |
| Kategori: | Ikke kategoriseret |
| Model: | VFS-DV |
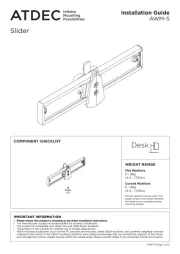
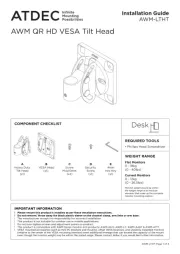
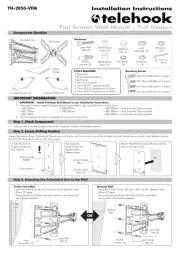
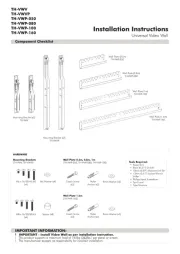
| Monteringstype: | Skrivebord |
| Hældningsvinkelområde: | -40 - 40 ° |
| Panoreringsområde: | -40 - 40 ° |
| Rotationsvinkel: | 360 ° |
| Skærmstørrelse kompatibilitet: | 24 " |
| Maksimal vægtkapacitet: | 12 kg |
| Vægt (efter britisk standard): | 26.5 Pund |
| Monteringsgrænseflade: | VESA 75mm x 75mm / 100mm x 100mm / 200mm x 100mm |
Har du brug for hjælp?
Hvis du har brug for hjælp til Atdec VFS-DV stil et spørgsmål nedenfor, og andre brugere vil svare dig
Ikke kategoriseret Atdec Manualer


Ikke kategoriseret Manualer
- Signature
- CTOUCH
- Burris
- SinuPulse
- Razorri
- Cygnett
- Apricorn
- Sealer Sales
- Telestar
- Smartwares
- IOIO
- Palmako
- Neno
- JYSK
- Sonnet
Nyeste Ikke kategoriseret Manualer