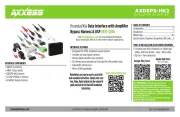
AXTO-MI2
I N S TA L L A T I O N I N S T R U C T I O N S
AxxessInterfaces.com © COPYRIGHT 2024 METRA ELECTRONICS CORPORATION REV. 4/3/24 INSTAXTO-MI2
INTERFACE FEATURES
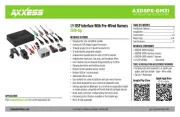
INTERFACE COMPONENTS
TOOLS REQUIRED
• Cutting tool • Crimping tool • Tape
•
Small flat-blade screwdriver
• Connectors
(example: butt-connectors, bell
caps, etc.)
TABLE OF CONTENTS
Connections 2 ............................................................
Initializing and Adjusting the AXTO-MI2 3 ..............
QR Code for AXSWC
Connections/Programming 3 ...............................
AXSWC Wiring Guide 4 ............................................
Mitsubishi Select Models 2007-2013
Amplifier Interface
• Retains the factory amplifier
• Provides multimedia wires (parking brake, reverse, and speed sense)
• RCA level input
• Retains balance and fade
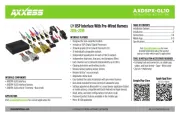
• AXTO-MI2 interface • AXTO-MI2 harness
• 16-pin harness with stripped leads and RCA jacks
APPLICATIONS
Mitsubishi
Lancer 2008-2013 .............................................................................................
Outlander Sport .............................................................................
2011-2013
Outlander........................................................................................2007-2013
For scan QR Code Dash Disassembly Instructions,
or refer to Enter the year, make, Metraonline.com.
and model of the vehicle in the Vehicle Fit Guide
for Radio Install kits.
ATTENTION: With the key out of the
ignition, disconnect the negative battery
terminal before installing this product. Ensure
that all installation connections, especially the
air bag indicator lights, are plugged in before
reconnecting the battery or cycling the ignition
to test this product.
NOTE: Refer also to the instructions included
with the aftermarket radio.
Visit for more detailed information about MetraOnline.com
the product and up-to-date vehicle specific applications