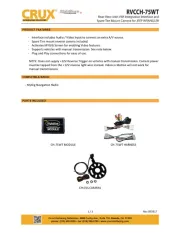
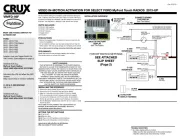
SOOGM-16V
Radio Replacement with OnStar, SWC Retention and
Video Switcher for GM LAN 29 Bit Vehicles
RADIO REPLACEMENT
SWC RETENTION
+
R
INTERFACING SOLUTIONS
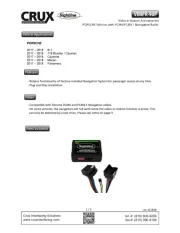
- Retains factory features in select GM LAN 29 Bit vehicles while functioning with an aftermarket radio.
- Pre-programmed to retain factory Steering Wheel Controls.
- Retains OnStar, factory Rear view camera and chime functions.
- Retains factory backup sensors / park assist system.
- Adds automatic speed/time sense front camera view after reverse process.
- Adds Forced front and rear view aftermarket camera inputs while in motion using the factory side mirror controls.
- Supports Bose, non-Bose and Y-91 audio systems.
- EIA color coded wiring for easy installation.
PRODUCT FEATURES:
1. The Front and Rear fading are not retained on Y-91 Bose System.
2. Chime includes: seat belt, check engine, key in ignition, low fuel, low oil and lights on.
NOTES:
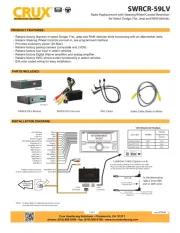
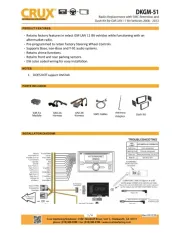
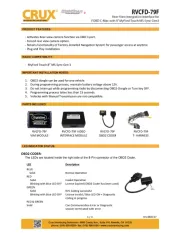
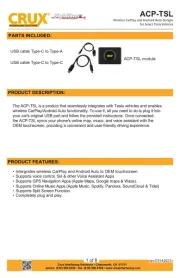
PARTS INCLUDED:
SOOGM-16V Module SOOGM-16V Harness Video Harness Antenna Adaptor SWC Cable
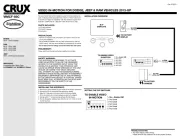
SETTING THE AFTERMARKET RADIO BRAND
With the key in the o position, set the DIP switches to the corresponding aftermarket radio setting.
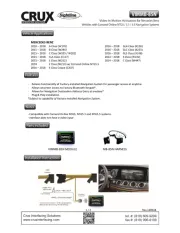
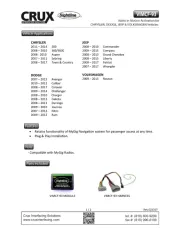
Crux Interfacing Solutions • Chatsworth, CA 91311
phone: (818) 609-9299 • fax: (818) 996-8188 • www.cruxinterfacing.com
rev.0224211 of 6
NOTE: Cap or Insulate the 3.5mm plug, Blue/Yellow or Green wires if not being used.
3.5MM SWC CABLE
Plug in the 3.5MM to 4-Pin SWC cable to the SWC module.
RADIO BRAND: DIP#: 1 2 3 4
Atoto, Dual, Fahrenheit, Jensen,
Pioneer, Power Acoustik, Soundstream
Blaupunkt, Most o-brand Radio
Alpine
Clarion
Kenwood
JVC
Boss, Old Sony
New Sony
NOTE: For Atoto, Blaupunkt, Dual, Farenheit, Power Acoustik, Soundstream, and most o-brand radios,
check the aftermarket radio’s manual to see if the SWC buttons need to be programmed.
SWC MODULE
DIP SWITCH
1 2 3 4
ON
OFF OFF ON ON
OFF OFF ON ON
OFF OFF ON ON
OFF OFF OFF OFF
OFF ON ON OFF
OFF ON ON ON
OFF ON OFF ON
OFF ON OFF OFF
OFF OFF ON OFF
RED to SWC Key 1
WHITE to SWC Key 2
SHIELD to SWC Ground
For aermarket radios that have wires for SWC connecons, cut o the 3.5mm plug on the Crux SWC Cable and connect the
SWC wires as follows:
Note that there are some radios that only have SWC1 and SWC2, in this case “shield” does not need to be connected.