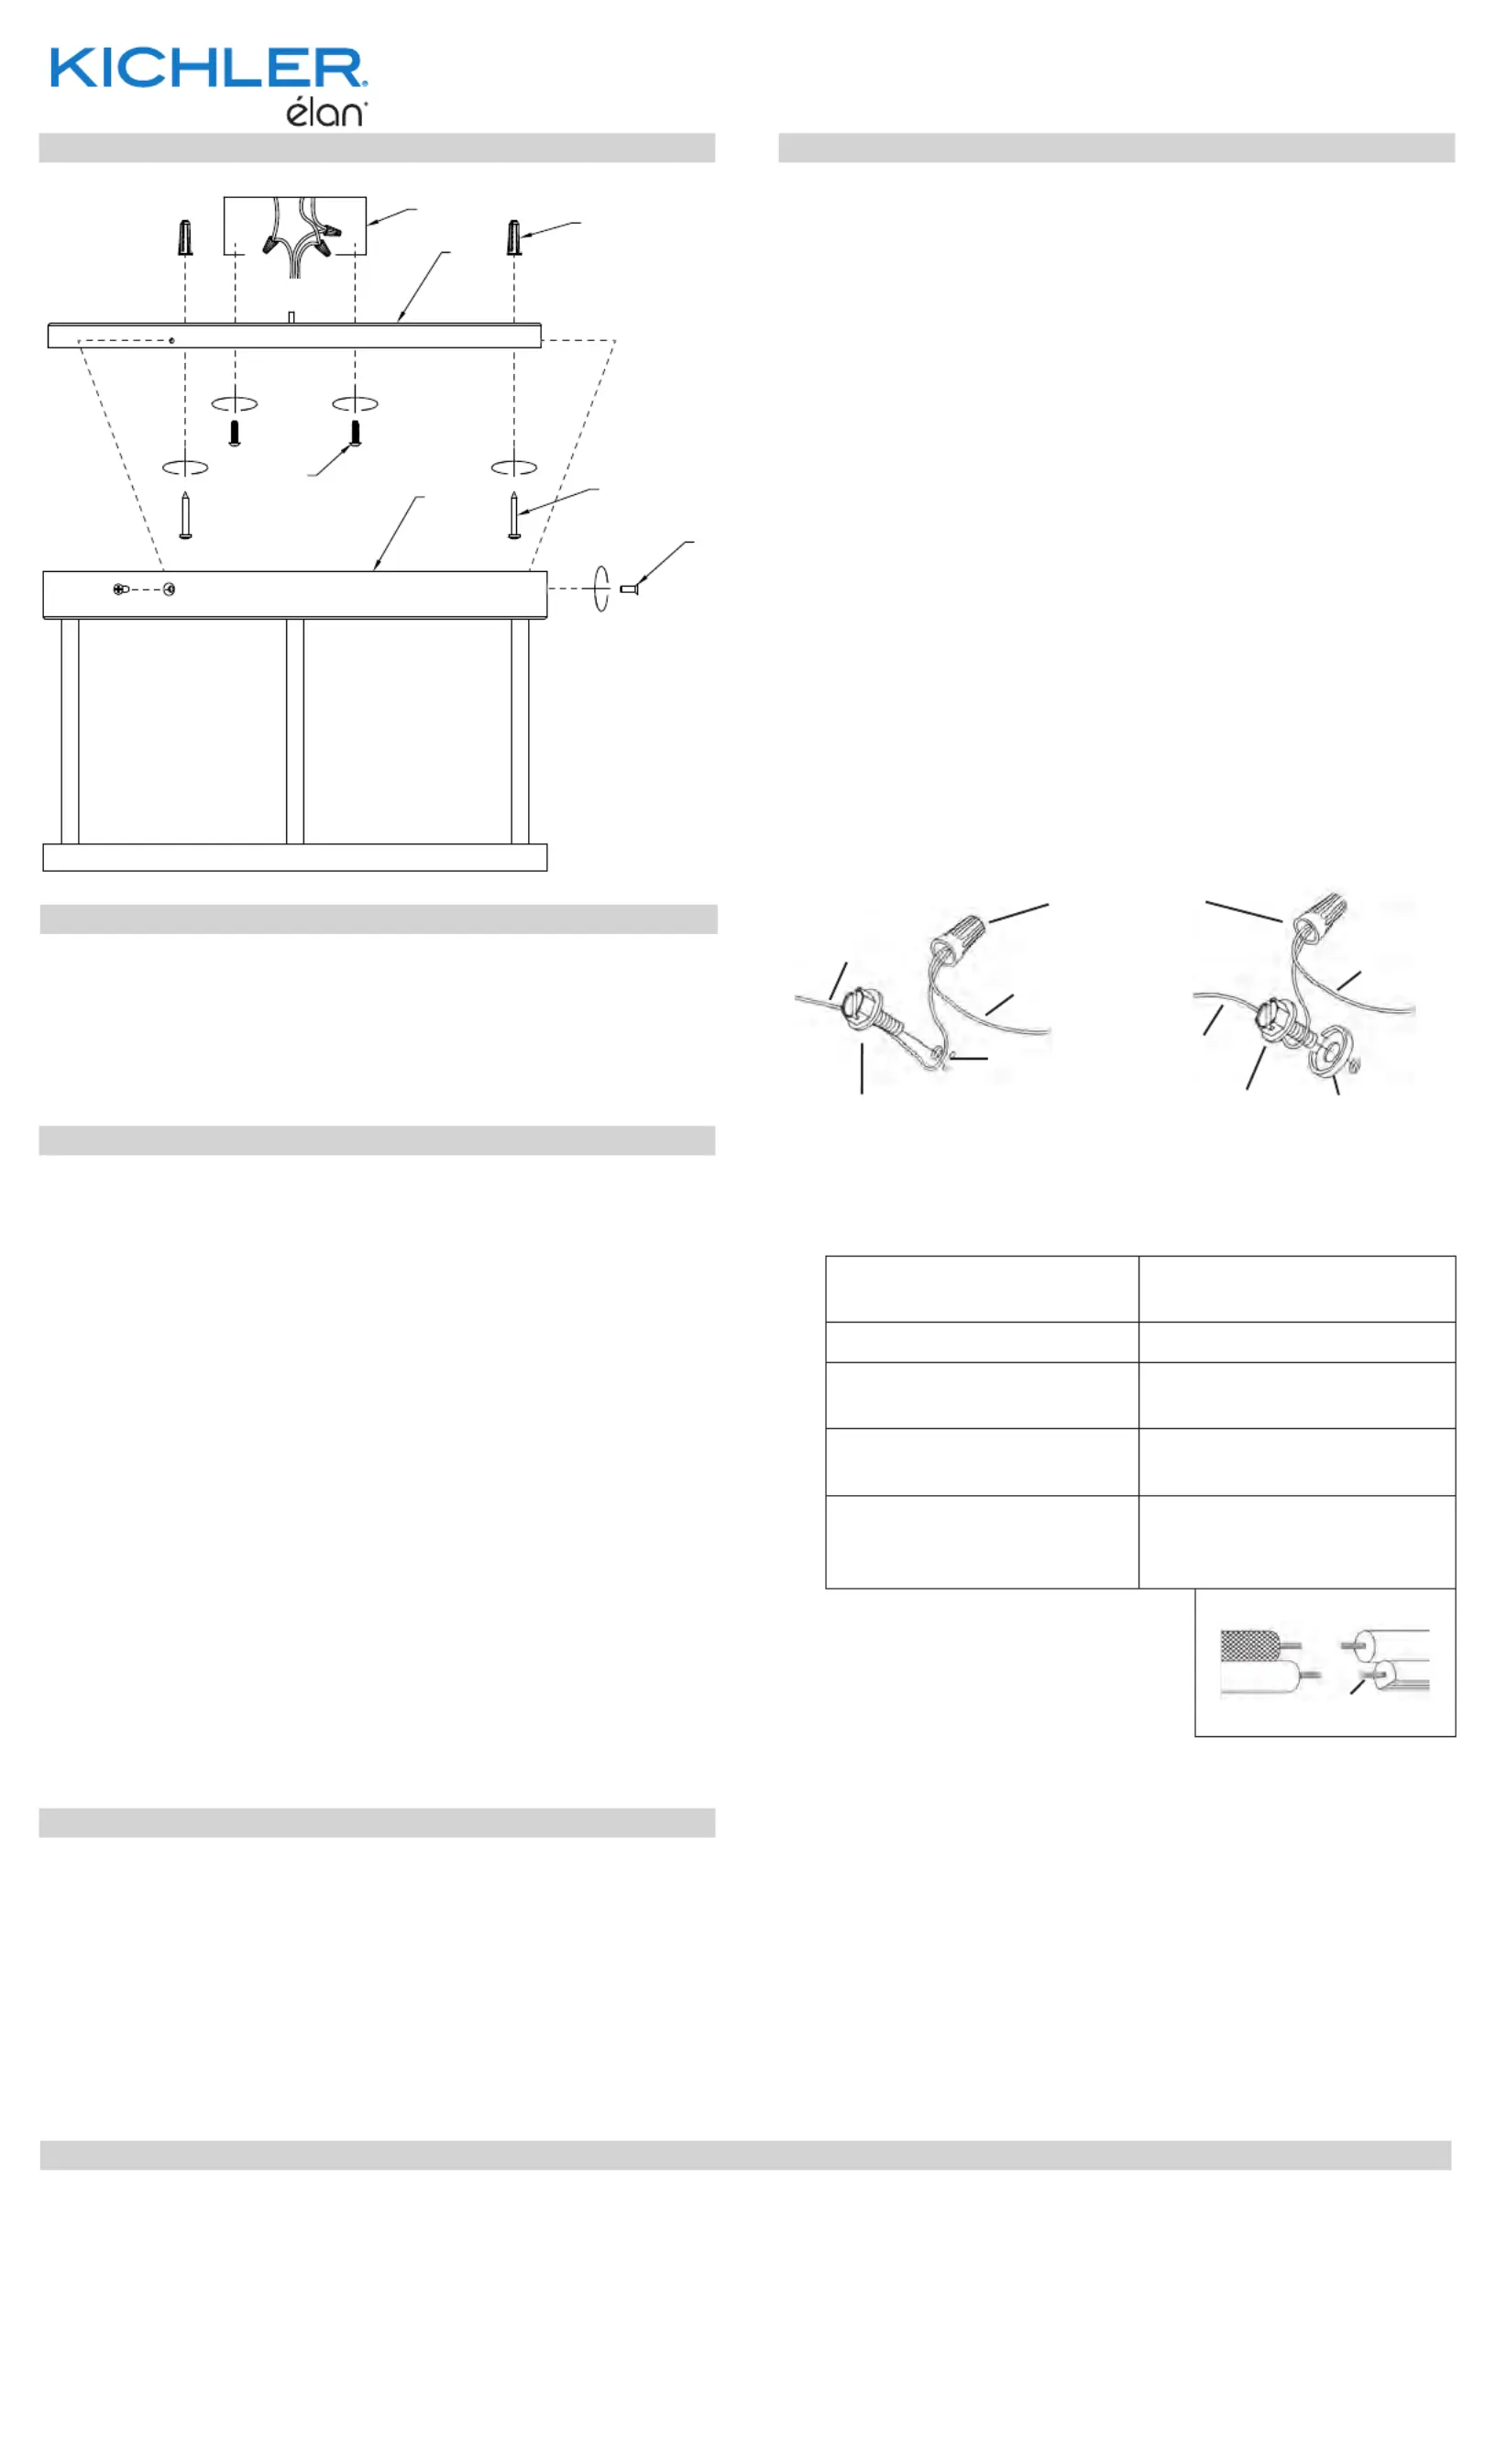
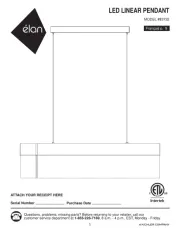
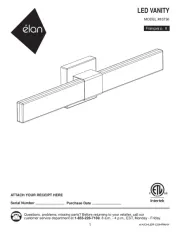
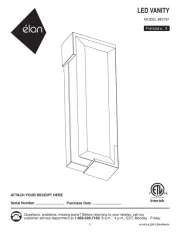
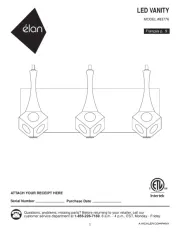
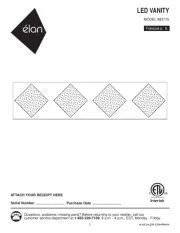
Elan Lavi 84319 Manual

Elan Lys Lavi 84319

Læs gratis den danske manual til Elan Lavi 84319 (3 sider) i kategorien Lys. Denne vejledning er vurderet som hjælpsom af 18 personer og har en gennemsnitlig bedømmelse på 3.8 stjerner ud af 9.5 anmeldelser. Har du et spørgsmål om Elan Lavi 84319, eller vil du spørge andre brugere om produktet?

Side 1/3
For warranty informaon please visit: kichler.com/warranty
1) Remove mounng plate from canopy[B] [C] by
unscrewing three (3) countersunk mounng screws[D]
from side of canopy. Retain screws for re-aaching
canopy to mounng plate.
2) Aach mounng plate using the[B] to outlet box[A]
plate mounng screws . Mounng plate can be[E]
adjusted to suit posion of xture.
Fixture Diagram
Cauons
CAUTION RISK OF SHOCK
Disconnect Power at the main circuit breaker panel or main
fusebox before starng and during the installaon.
WARNING:
This xture is intended for installaon in accordance
with the Naonal Electrical Code (NEC) and all local code
specicaons. If you are not familiar with code requirements,
installaon by a cered electrician is recommended.
DIMMING:
This LED xture is compable with most standard
incandescent dimmers, LED dimmers, and electronic low
voltage dimmers.
For opmal performance, an electronic low voltage dimmer
should be used.
See kichler.com/dimming for a list of compable dimmers.
CLEANING:
Always be certain that electric current is turned o before
cleaning.
Only a so damp cloth should be used. Harsh cleaning
products may damage the nish.
Installaon Instrucons
[A] Outlet Box
[B] Mounting
Plate
[C] Canopy
[D] Countersunk
Mounting
Screw
[E] Plate
Mounting
Screw
[F] Drywall
Anchors
[G] Drywall
Mounting
Screws
3) Using the mounng plate as a template, mark the[B]
posions for the three (3) drywall anchors , one at[F]
each slot near the edge of the mounng plate. Unscrew
the plate mounng screws, and remove the plate
mounng screws and mounng plate.
4) Drill 5mm (3/16") holes in ceiling where marked, and
insert the three (3) drywall anchors[F].
5) Aach mounng plate using the[B] to outlet box[A]
plate mounng screws . Secure mounng plate to[E]
ceiling by screwing the three (3) drywall mounng
screws[G] through the drywall mounng screw holes in
the mounng plate, and into the drywall anchors.
6) Grounding instrucons: (See Illus. a or b).
a) On xtures where mounng plate is provided with a
hole and two raised dimples, wrap ground wire from
outlet box around green ground screw, and thread
into hole.
b) On xtures where a cupped washer is provided,
aach ground wire from outlet box under cupped
washer and green ground screw, and thread into
mounng plate.
If xture is provided with ground wire, connect xture
ground wire to outlet box ground wire with wire
connector aer following the above steps. Never connect
ground wire to black or white power supply wires.
7) Make wire connecons. Reference chart below for
correct connecons and wire accordingly.
Connect Black or Red
Supply Wire to:
Connect White Supply
Wire to:
Black White
*Parallel cord (round &
smooth)
*Parallel cord (square &
ridged)
Clear, Brown, Gold or
Black without Tracer
Clear, Brown, Gold or Black
with Tracer
Insulated wire (other
than green) with copper
conductor
Insulated wire (other
than green) with silver
conductor
*Note: When parallel wire (SPT
1 & SPT 2) are used. The neutral
wire is square shaped or ridged
and the other wire will be round
in shape or smooth (See illus.)
Neutral Wire
8) Raise xture to ceiling, carefully passing canopy[C] over
mounng plate[B].
NOTE: Make sure wires do not get pinched between
canopy and ceiling.
9) Align three (3) holes on side of canopy with three (3)
holes on ange of mounng plate.
10) Secure canopy to mounng plate using countersunk
mounng screws[D] previously removed from canopy.
GREEN GROUND
SCREW
CUPPED
WASHER
OUTLET BOX
GROUND
FIXTURE
GROUND
DIMPLES
WIRE CONNECTOR
OUTLET BOX
GROUND
GREEN GROUND
SCREW
FIXTURE
GROUND
a
b
Installaon Instrucons (connued)
This device complies with part 15 of the FCC Rules. Operaon is subject to the following two
condions:
1) This device may not cause harmful interference, and
2) This device must accept any interference received, including interference that may cause
undesired operaon.
Note: This equipment has been tested and found to comply with the limits for a Class B digital
device, pursuant to part 15 of the FCC Rules. These limits are designed to provide reasonable
protecon against harmful interference in a residenal installaon. This equipment generates,
uses and can radiate radio frequency energy and, if not installed and used in accordance with
the instrucons, may cause harmful interference to radio communicaons. However, there is
no guarantee that interference will not occur in a parcular installaon. If this equipment does
cause harmful interference to radio or television recepon, which can be determined by turning
the equipment o and on, the user is encouraged to try to correct the interference by one or
more of the following measures:
Reorient or relocate the receiving antenna.
Increase the separaon between the equipment and receiver.
Connect the equipment into an outlet on a circuit dierent from that to which the
receiver is connected.
Consult the dealer or an experienced radio/TV technician for help.
FCC Informaon:
IS-84319-US
Were here to help 866-558-5706
Hrs: M-F 9am to 5pm EST
REV 12-APR-2021
A
E
G
F
B
D
C


Produkt Specifikationer

Mærke: Elan
Kategori: Lys
Model: Lavi 84319

Har du brug for hjælp?

Hvis du har brug for hjælp til Elan Lavi 84319 stil et spørgsmål nedenfor, og andre brugere vil svare dig


Lys Elan Manualer

Elan

Elan Geo 83732 Manual

19 August 2025
Elan

Elan Neltev 83736 Manual

19 August 2025
Elan

Elan Jaxen 83797 Manual

18 August 2025
Elan

Elan Rockne 83774 Manual

18 August 2025
Elan

Elan Rockne 83775 Manual

18 August 2025
Elan

Elan Rockne 83777 Manual

18 August 2025
Elan

Elan Neltev 83792 Manual

18 August 2025
Elan

Elan Rockne 83776 Manual

18 August 2025
Elan

Elan Gorve 83715 Manual

18 August 2025

Lys Manualer

Nyeste Lys Manualer

Vaxcel

Vaxcel W0377 Manual

28 December 2025
Tracer

Tracer Lumi PRO Manual

28 December 2025
Vaxcel

Vaxcel CR-VLU001 Manual

28 December 2025
Vaxcel

Vaxcel CH55606 Manual

25 December 2025
Vaxcel

Vaxcel H0198 Manual

25 December 2025
Neolium

Neolium X8 Manual

25 December 2025
Biltema

Biltema 27-000 Manual

25 December 2025
Vaxcel

Vaxcel P0260 Manual

24 December 2025
Vaxcel

Vaxcel PD5024 Manual

24 December 2025
Vaxcel

Vaxcel CR-VLU002 Manual

24 December 2025