www.hugo-mueller.de BA SC18x4easy SC28x3pro4 MP;de,en,fr,it – 23756 - 2019.07V04
(1) Option
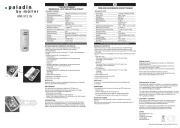
Bedienungsanleitung – Digitale Zeitschaltuhr Astro [SC18.x4 easy/ 1704x4 easy/ SC28x3 pro4 / 1724x3pro4 /173113 easy]
Einbau und Montage dürfen nur von einer
Elektrofachkraft durchgeführt werden! Anderenfalls
besteht Brandgefahr oder die Gefahr eines elektrischen
Schlages!
Nur an die auf dem Typenschild / der Schaltuhr
angegebene Spannung und Frequenz anschließen!
Bei Eingriffen oder Änderungen an der Schaltuhr erlischt
die Garantie!
Die Schaltuhr ist so zu installieren, dass außer-
gewöhnlich hohe Störstrahlung die Funktion nicht
beeinträchtigen kann!
Die Schaltuhr wird im Power-Fail-Modus ausgeliefert. Das Display ist aus.
Drücken Sie die / -Taste. Die Displayanzeige erscheint.
Die Schaltuhr ist mit dem aktuellen Datum, der Uhrzeit und der europäischen
Sommerzeitregel voreingestellt.
Stellen Sie die gewünschte Sprache mit den -Tasten ein und bestätigen Sie
mit . (Hinweis: Mit der -Taste können Sie jederzeit einen Schritt zurück)
Datum, Uhrzeit und Sommerzeitregel falls nötig mit den -Tasten einstellen und
jeweils mit bestätigen.
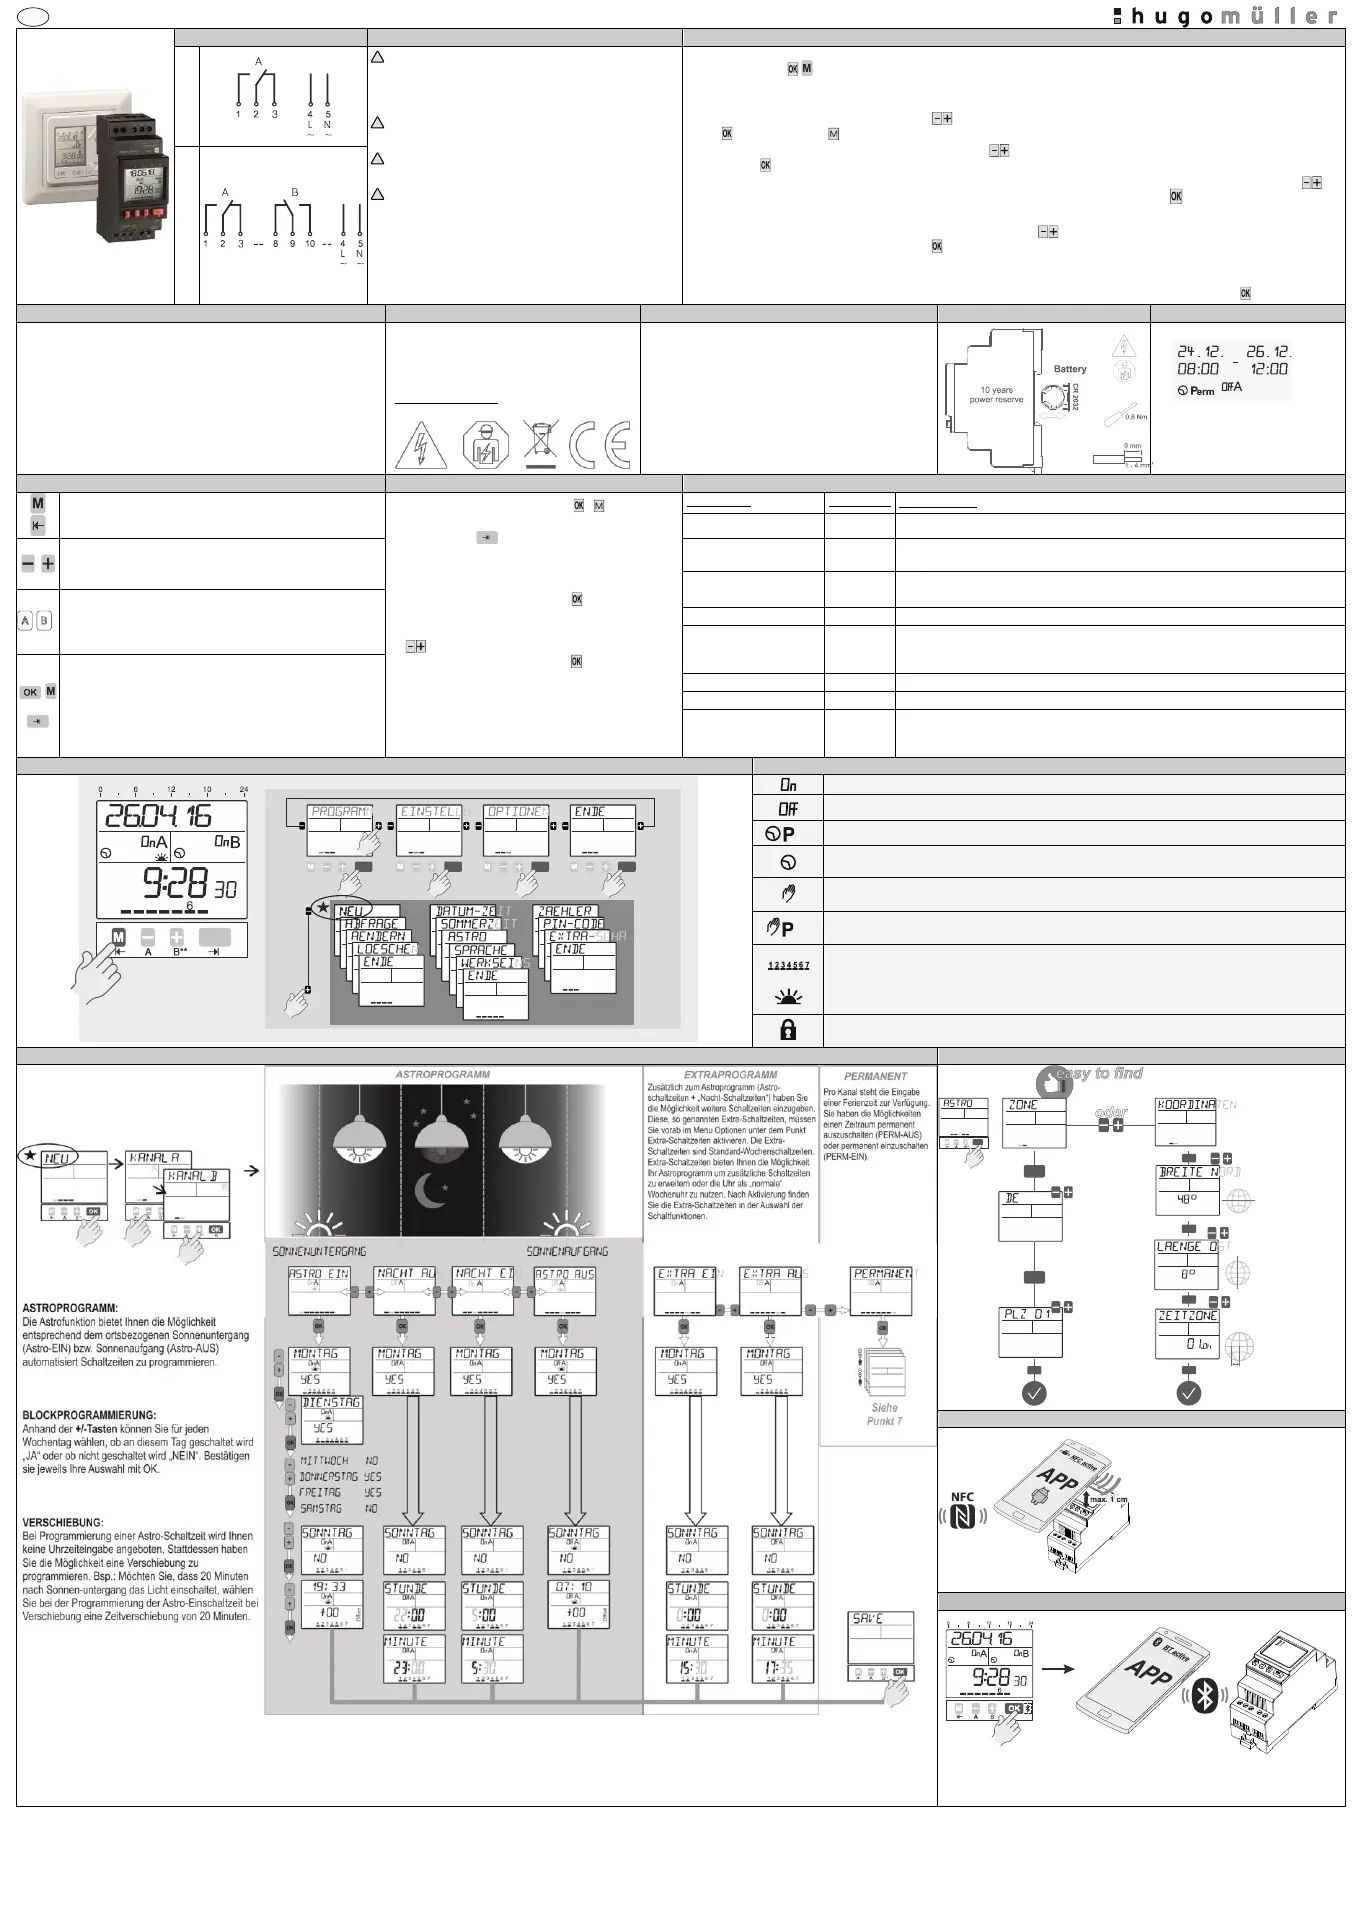
Für die Astrofunktionalität ist es im nächsten Schritt notwendig, dass Sie Ihre Position eingeben. Wählen Sie mit den -
Tasten zwischen den Optionen „Zone“ oder „Koordinaten“. Bestätigen Sie Ihre Auswahl mit .
(Empfehlung: Positionseingabe mittels „Zone“)
Im nächsten Schritt wählen Sie die nächstgelegene Zone mit den -Tasten aus bzw. die genauen Koordinaten Ihres
Standortes. Bestätigen Sie Ihre Auswahl mit .
Zuletzt entscheiden Sie ob Sie die Astroschaltzeiten (ohne Offset-Zeit) bereits für die ganze Woche aktivieren möchten
(Auswahl „Astro vorprogrammiert“) oder ob Sie die Astrofunktion zu einem späteren Zeitpunkt individuell programmieren
möchten (Auswahl „Astro nicht vorprogrammiert“). Schließen Sie die Inbetriebnahme mit Bestätigung der -Taste ab.
5. Bestimmungsgemäße Verwendung
Kontaktwerkstoff (115V / 230V)
Kontaktwerkstoff (12V / 24V)
DIN EN 60730-1/DIN EN 60730-2-7
Geeignet für moderne Leuchtmittel
Hugo Müller GmbH & Co KG
Karlstraße 90
DE-78054 VS-Schwenningen
+49 7720 80836
www.hugo-mueller.de
Das Gerät ist zur Verwendung für folgende Aufgaben
vorgesehen: Beleuchtungen im privaten und gewerblichen
Bereich, Straßen- und Schaufensterbeleuchtung, Steuerung
von Lüftungen, Motoren, Pumpen, Anlagen und
Anwesenheitssimulation etc.. Das Gerät ist ausschließlich
zum Einsatz in trockenen Räumen geeignet. Das Gerät ist
nicht geeignet für sicherheitsrelevante Aufgaben, wie z.B.
Fluchttüren, Brandschutzeinrichtungen etc.
10. Weitere Einstellungen
1. Wechsel vom Automatik-Modus in den Eingabe-Modus.
2. Zurück-Funktion (Eine Ebene zurück)
Gangreserve (ohne Netz): Taste / betätigen, das
Display schaltet ein.
Mit der Taste gelangen Sie in der
Programmierung immer einen Schritt / eine Ebene
zurück.
Am Schluss einer kompletten Eingabe erscheint
Ende. Bestätigen sie Ende mit wechseln Sie zum
Automatik-Modus zurück.
Am Schluss mancher Eingaben können Sie mit den
-Tasten zwischen Ende oder Weiter wählen.
Bestätigen Sie Weiter mit der -Taste werden die
Daten übernommen und Sie wechseln zum Anfang
der Eingabe zurück.
Bei Auswahl/Bestätigung von Ende während der
Eingabe, geht die Uhr ohne Übernahme der Daten in
den Automatik-Modus.
Abfrage Schaltzeiten / Abfrage Speicherplatz
1. Eingabe-Modus: Auswahlmöglichkeit zwischen
verschiedenen Optionen.
2. Eingabe-Modus: Verändern der blinkenden Stelle.
Löschen der Schaltzeit(en). Sie haben die Möglichkeiten alle Kanäle, einen Kanal oder
einzelne Schaltzeiten zu löschen.
Einstellung Datum und Uhrzeit
1. Automatik-Modus: Ein- oder Ausschalten eines Kanals bis
zur nächsten programmierten Schaltzeit.
2. Automatik-Modus: Tastendruck länger als 3 sec. =
Permanentschaltung
1. Aktivieren der Schaltuhr durch Betätigen einer der Tasten
(Ohne Netzspannung).
2. Bestätigen der Auswahl oder der Programmierung (Eine
Ebene tiefer).
Zurücksetzen auf Auslieferungszustand
Anzeige der Betriebsstunden und Schaltungen je Kanal und für die Schaltuhr gesamt
Sie können die Schaltuhr mit einem 4-stelligen PIN-Code sperren. Diesen Code
können Sie bearbeiten, aktivieren oder deaktivieren. Sollten Sie ihn vergessen haben,
wenden Sie sich bitte an unseren Kundendienst
OK
OKOK
**Bei 2 Kanal-
Ausführung
OKOK OKOK OKOK OKOK
Kanal eingeschaltet / Programmierung EIN
Kanal ausgeschaltet / Programmierung AUS
Für das aktuelle Datum ist eine Ferien- / Datums-Schaltung aktiv.
Aktueller Schaltzustand beruht auf programmierter Standardschaltzeit.
Akt. Schaltzustand beruht auf manueller Umschaltung des Programms und wird durch das
gespeicherte Programm bei der nächsten Schaltzeit geändert.
Akt. Schaltzustand beruht auf manueller Umschaltung und bleibt permanent erhalten, bis manuell
zurückgesetzt wird.
Wochentage Montag ... Sonntag; im Programmier-Modus zeigen Unterstriche an, welche
Wochentage aktiviert sind.
Astrofunktion: Akt. Schaltzustand beruht auf Sonnenunter- oder -aufgang mit eventuell
programmierter Verschiebung.
Schaltuhr ist über PIN gesperrt; PIN-Eingabe erforderlich.
13. Schaltzeiten programmieren / Programmierung der Schaltzeiten
Zone = Land
PLZ = Postleitzahl
OK
OK
OK
OK
GMT
OK
OK
OK
N
S
W E
GMT
OK
OKOK
15. Programmierung über NFC (1)
16. Programmierung über Bluetooth (1)