Air King AK55L Manual
Air King
Varmeapparat
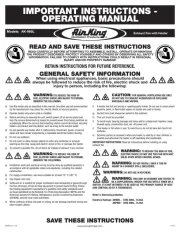
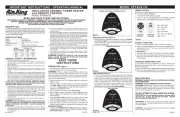
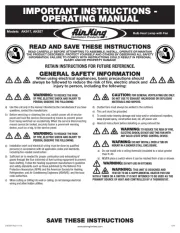
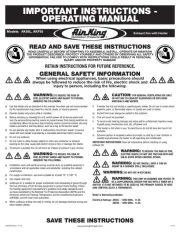
AK55L
| Mærke: | Air King |
| Kategori: | Varmeapparat |
| Model: | AK55L |
Har du brug for hjælp?
Hvis du har brug for hjælp til Air King AK55L stil et spørgsmål nedenfor, og andre brugere vil svare dig
Varmeapparat Air King Manualer
5 August 2024
3 August 2024
21 Juli 2024
18 Juli 2024
Varmeapparat Manualer
- Lavor
- Fuave
- Electrolux
- Sencor
- Fire Sense
- Euromac
- German Pool
- Daikin
- LG
- Laguna
- Eureka
- Veito
- True North
- Nectre
- Kogan
Nyeste Varmeapparat Manualer
2 November 2025

1 November 2025
1 November 2025
1 November 2025

31 Oktober 2025
31 Oktober 2025
30 Oktober 2025
29 Oktober 2025
18 Oktober 2025
18 Oktober 2025