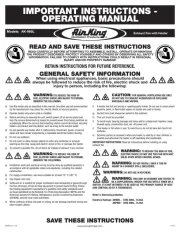
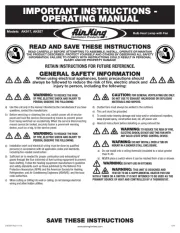
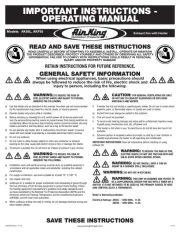
Air King AK965L Manual
Air King
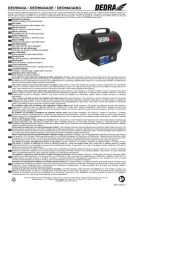
Varmeapparat
AK965L
| Mærke: | Air King |
| Kategori: | Varmeapparat |
| Model: | AK965L |
Har du brug for hjælp?
Hvis du har brug for hjælp til Air King AK965L stil et spørgsmål nedenfor, og andre brugere vil svare dig
Varmeapparat Air King Manualer
5 August 2024
3 August 2024
21 Juli 2024
18 Juli 2024
Varmeapparat Manualer
- Radialight
- Renkforce
- RYOBI
- Heatstrip
- IXL
- Dometic
- Excelair
- Rommelsbacher
- Equator
- Vemer
- Yellow Garden Line
- Imetec
- Remko
- Danfoss
- Maxwell
Nyeste Varmeapparat Manualer

1 November 2025
1 November 2025
1 November 2025

31 Oktober 2025
31 Oktober 2025
30 Oktober 2025
29 Oktober 2025
18 Oktober 2025
18 Oktober 2025
18 Oktober 2025