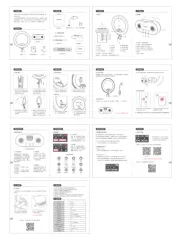
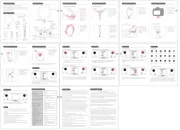
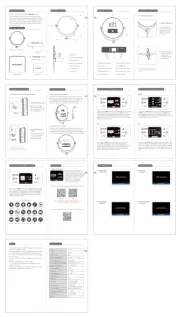
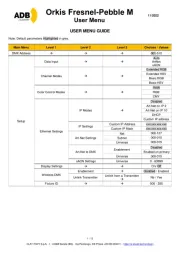
Neewer RGB18 II Manual

| Mærke: | Neewer |
| Kategori: | Lettelse |
| Model: | RGB18 II |
Har du brug for hjælp?
Hvis du har brug for hjælp til Neewer RGB18 II stil et spørgsmål nedenfor, og andre brugere vil svare dig
Lettelse Neewer Manualer

8 Januar 2025

8 Januar 2025

8 Januar 2025

19 December 2024

7 Oktober 2024

4 September 2024
4 September 2024
4 September 2024
4 September 2024
4 September 2024
Lettelse Manualer
- Fotodiox
- Livarno Lux
- Bigben
- DistriCover
- Doughty
- Garden Lights
- Ranex
- Portman
- Genaray
- Currey & Company
- ARRI
- Vimar
- Rocktrail
- Cineo
- NZXT
Nyeste Lettelse Manualer

9 April 2025
8 April 2025
8 April 2025
8 April 2025

5 April 2025

5 April 2025

5 April 2025

5 April 2025

4 April 2025

4 April 2025