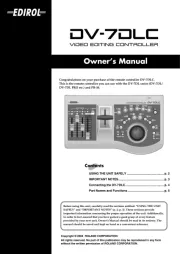
Roland DH-10 Manual
Roland
Ikke kategoriseret
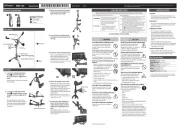
DH-10
| Mærke: | Roland |
| Kategori: | Ikke kategoriseret |
| Model: | DH-10 |
Har du brug for hjælp?
Hvis du har brug for hjælp til Roland DH-10 stil et spørgsmål nedenfor, og andre brugere vil svare dig
Ikke kategoriseret Roland Manualer
7 November 2025
31 Oktober 2025
1 Oktober 2025
11 September 2025

10 September 2025
28 August 2025
27 August 2025
27 August 2025
27 August 2025
20 August 2025
Ikke kategoriseret Manualer
- Vicoustic
- Kernau
- Peerless
- Hoshizaki
- Simplehuman
- WyreStorm
- Ansco
- True & Tidy
- BYD
- W'eau
- Watson
- XIAOKOA
- Midland
- Platinum Tools
- Golvery
Nyeste Ikke kategoriseret Manualer

9 December 2025

9 December 2025

9 December 2025

9 December 2025

9 December 2025

9 December 2025

9 December 2025

9 December 2025

9 December 2025

9 December 2025