Atlas Sound FAP8CXT Manual
Atlas Sound
Højttaler
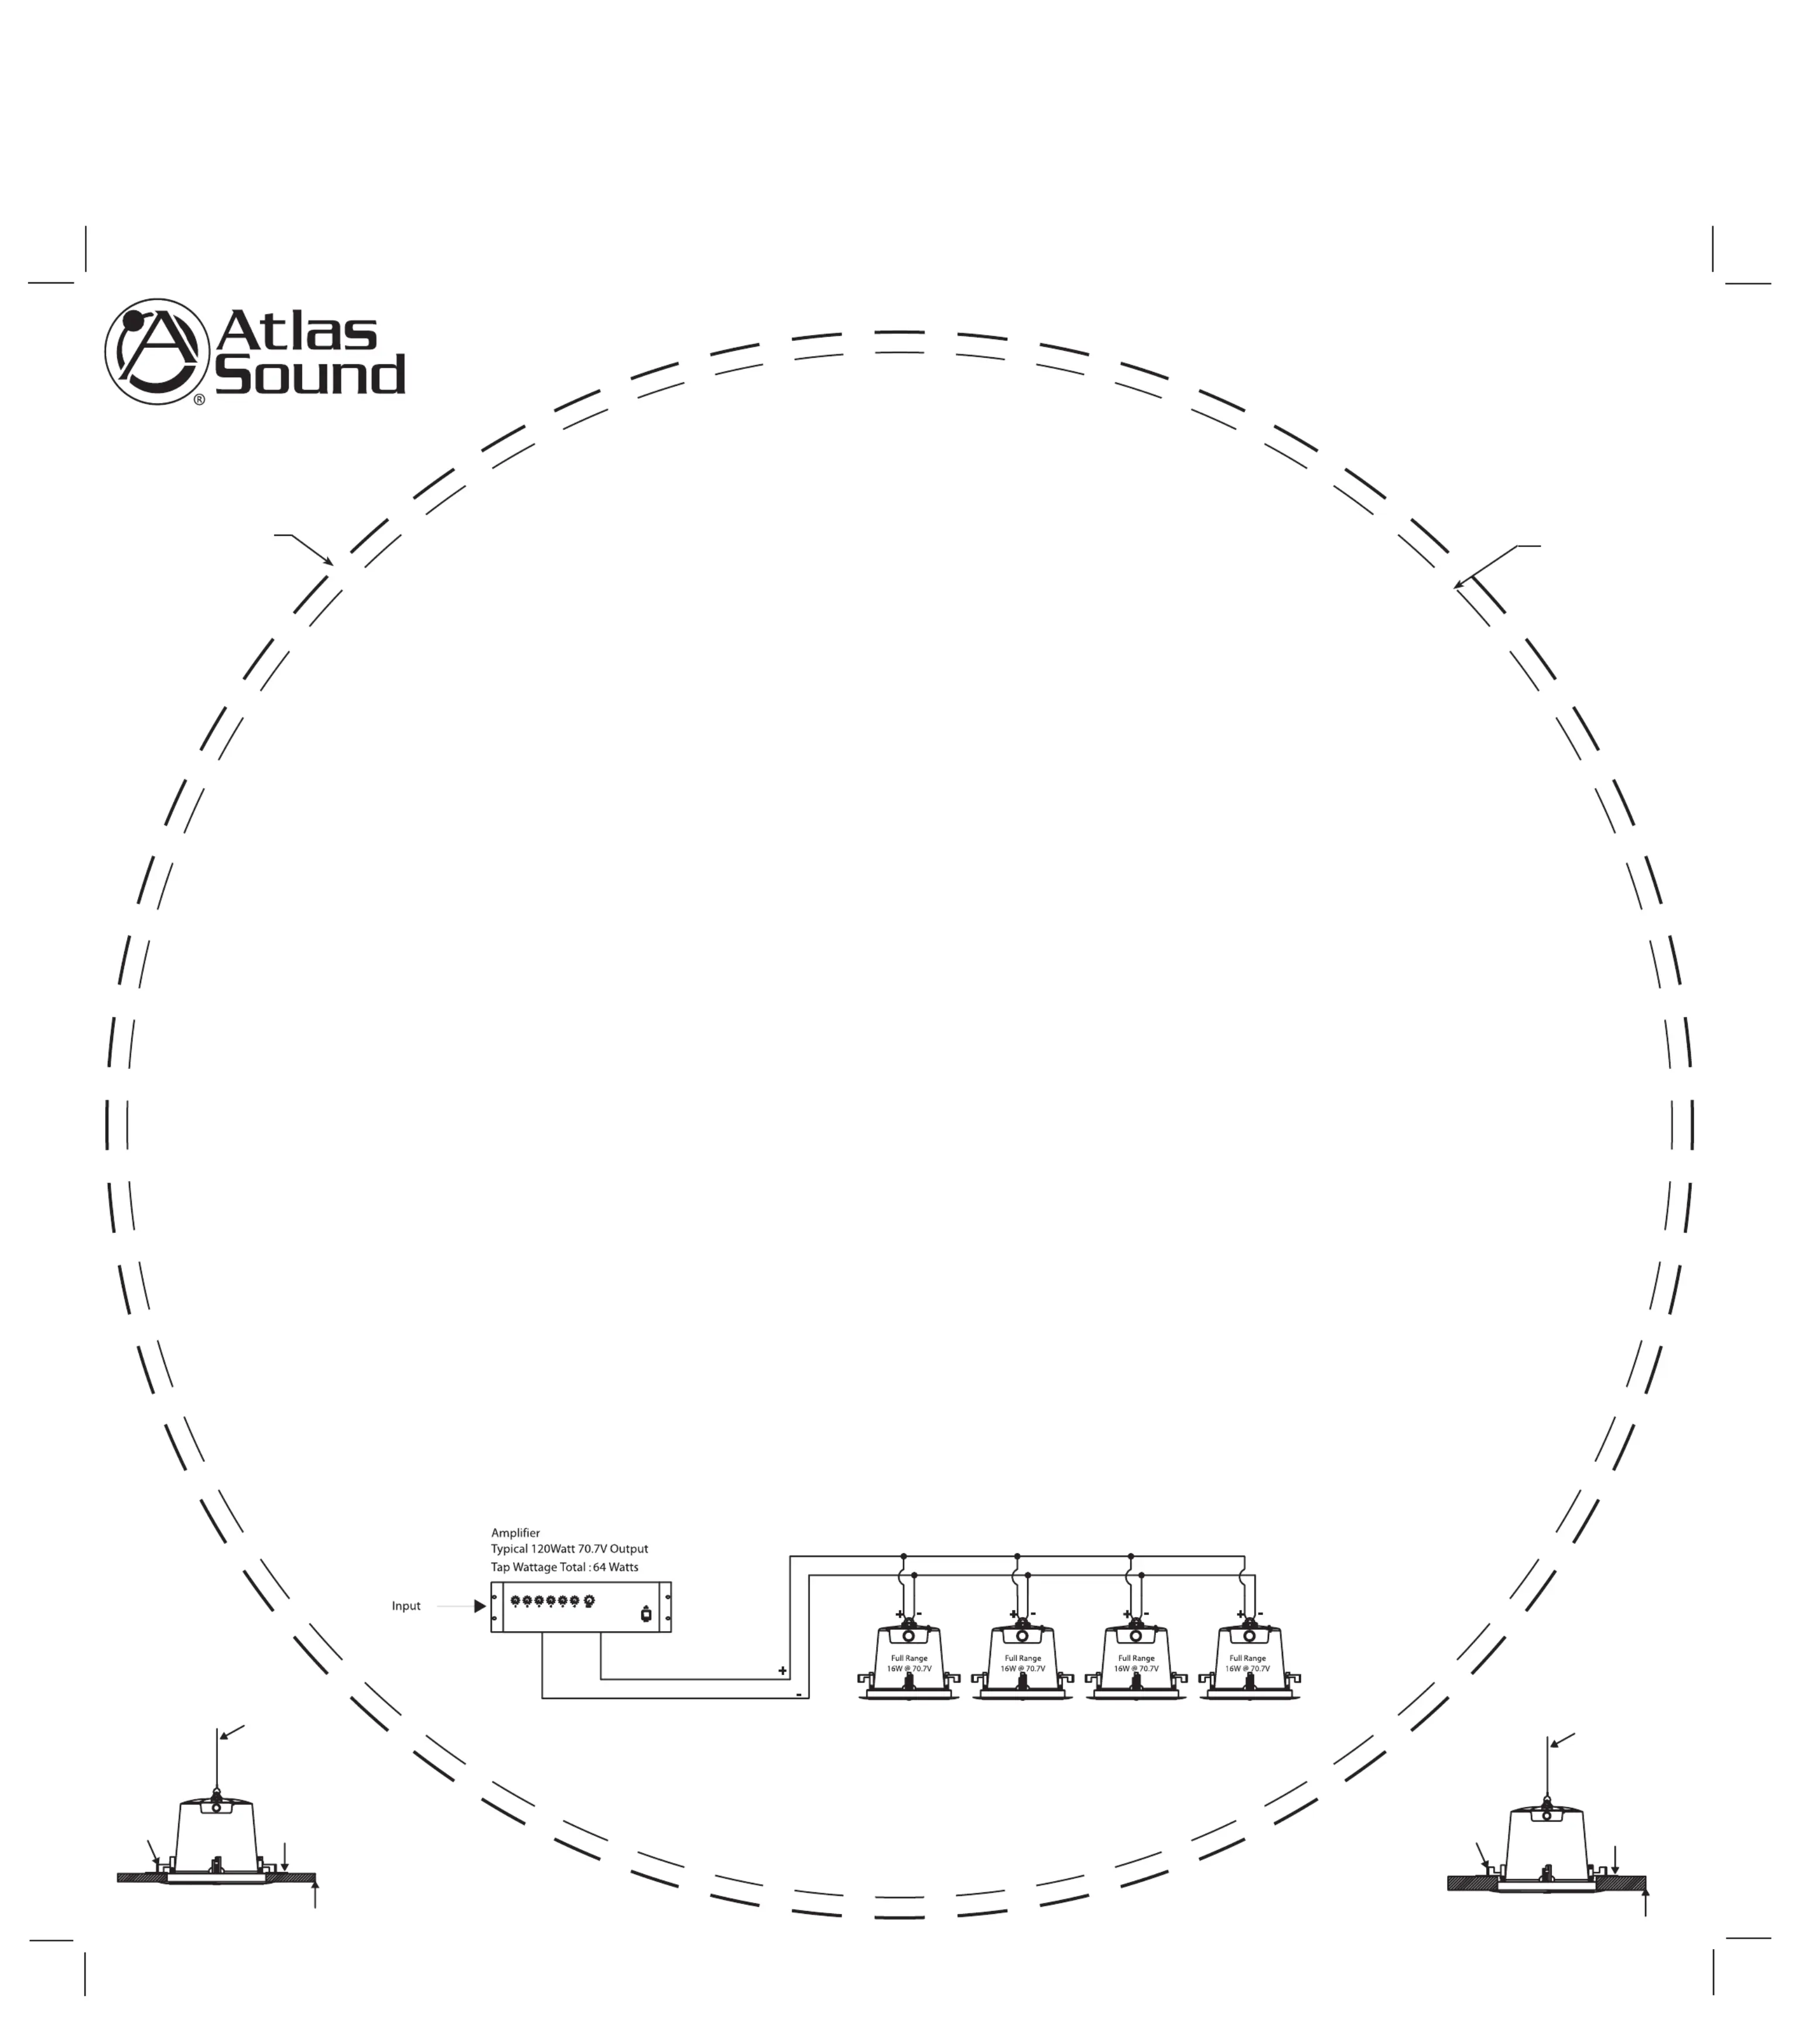
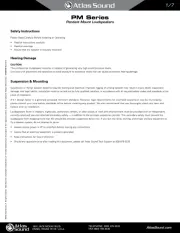
FAP8CXT
| Mærke: | Atlas Sound |
| Kategori: | Højttaler |
| Model: | FAP8CXT |
| Bredde: | 400 mm |
| Antal pr. pakke: | 1 stk |
| Produktfarve: | Hvid |
| Antal højttalere: | 1 |
| Udgangseffekt (RMS): | 60 W |
| Frekvensområde: | 60 - 15000 Hz |
| Impedens: | 8 ohm (Ω) |
| Højttaler, type: | 1-vejs |
| Sensitivitet: | 92 dB |
| Egnet til udendørs brug: | Ingen |
| Indbygget forstærker: | Ingen |
Har du brug for hjælp?
Hvis du har brug for hjælp til Atlas Sound FAP8CXT stil et spørgsmål nedenfor, og andre brugere vil svare dig
Højttaler Atlas Sound Manualer
20 September 2025
19 September 2025
18 September 2025
9 Juni 2025
28 December 2024
21 August 2024
21 August 2024

21 August 2024
21 August 2024
21 August 2024
Højttaler Manualer
- SoundTube
- Linn
- MUZEN
- Adj
- US Blaster
- HiVi
- DB Technologies
- Imperial
- Kindermann
- Martin Audio
- Origin Acoustics
- Pulver
- Martin Logan
- Glemm
- Chord
Nyeste Højttaler Manualer
29 Oktober 2025
28 Oktober 2025

28 Oktober 2025
24 Oktober 2025
21 Oktober 2025
19 Oktober 2025
19 Oktober 2025
19 Oktober 2025

19 Oktober 2025
19 Oktober 2025