EXSYS EX-1445 Manual
EXSYS
Ikke kategoriseret
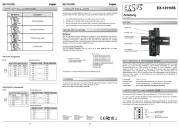
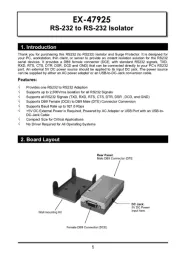
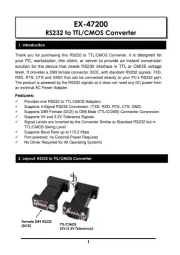
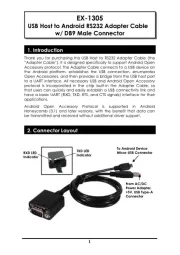
EX-1445

| Mærke: | EXSYS |
| Kategori: | Ikke kategoriseret |
| Model: | EX-1445 |
| Type: | Netværkssender & -modtager |
| Bredde: | 90 mm |
| Dybde: | 72 mm |
| Højde: | 30 mm |
| Vægt: | 500 g |
| Produktfarve: | Sort |
| Opbevaringstemperatur (T-T): | -40 - 75 °C |
| Relativ luftfugtighed ved drift (H-H): | 5 - 95 % |
| Ethernet LAN-porte (RJ-45): | 1 |
| Antal USB 2.0-porte: | 4 |
| Driftstemperatur (T-T): | 0 - 55 °C |
| Certificering: | CE, FCC |
| Mac kompabilitet: | Ja |
| Bæredygtighedscertifikater: | RoHS |
| Understøttede Windows-operativsystemer: | Ja |
| Understøttede Mac-operativsystemer: | Ja |
| Understøttede Linux-operativsystemer: | Ja |
| Maksimal overførselsafstand: | 50 m |
| Understøttede kabeltyper: | Cat5, Cat6 |
| Antal RJ-45 porte (sender): | 1 |
Har du brug for hjælp?
Hvis du har brug for hjælp til EXSYS EX-1445 stil et spørgsmål nedenfor, og andre brugere vil svare dig
Ikke kategoriseret EXSYS Manualer
23 September 2025
23 September 2025
24 Juli 2025
24 Juli 2025
24 Juli 2025
24 Juli 2025
23 Juli 2025
23 Juli 2025
23 Juli 2025
23 Juli 2025
Ikke kategoriseret Manualer
- Bernstein
- SeaLife
- Wooden Camera
- NAD
- DutchOne
- Kalorik
- Elro
- Lantus
- Madrix
- Melnor
- Wacker Neuson
- Baccarat
- Rotatrim
- Prismate
- Kioxia
Nyeste Ikke kategoriseret Manualer

3 November 2025

3 November 2025

3 November 2025

3 November 2025

3 November 2025

3 November 2025

3 November 2025

3 November 2025

3 November 2025

3 November 2025