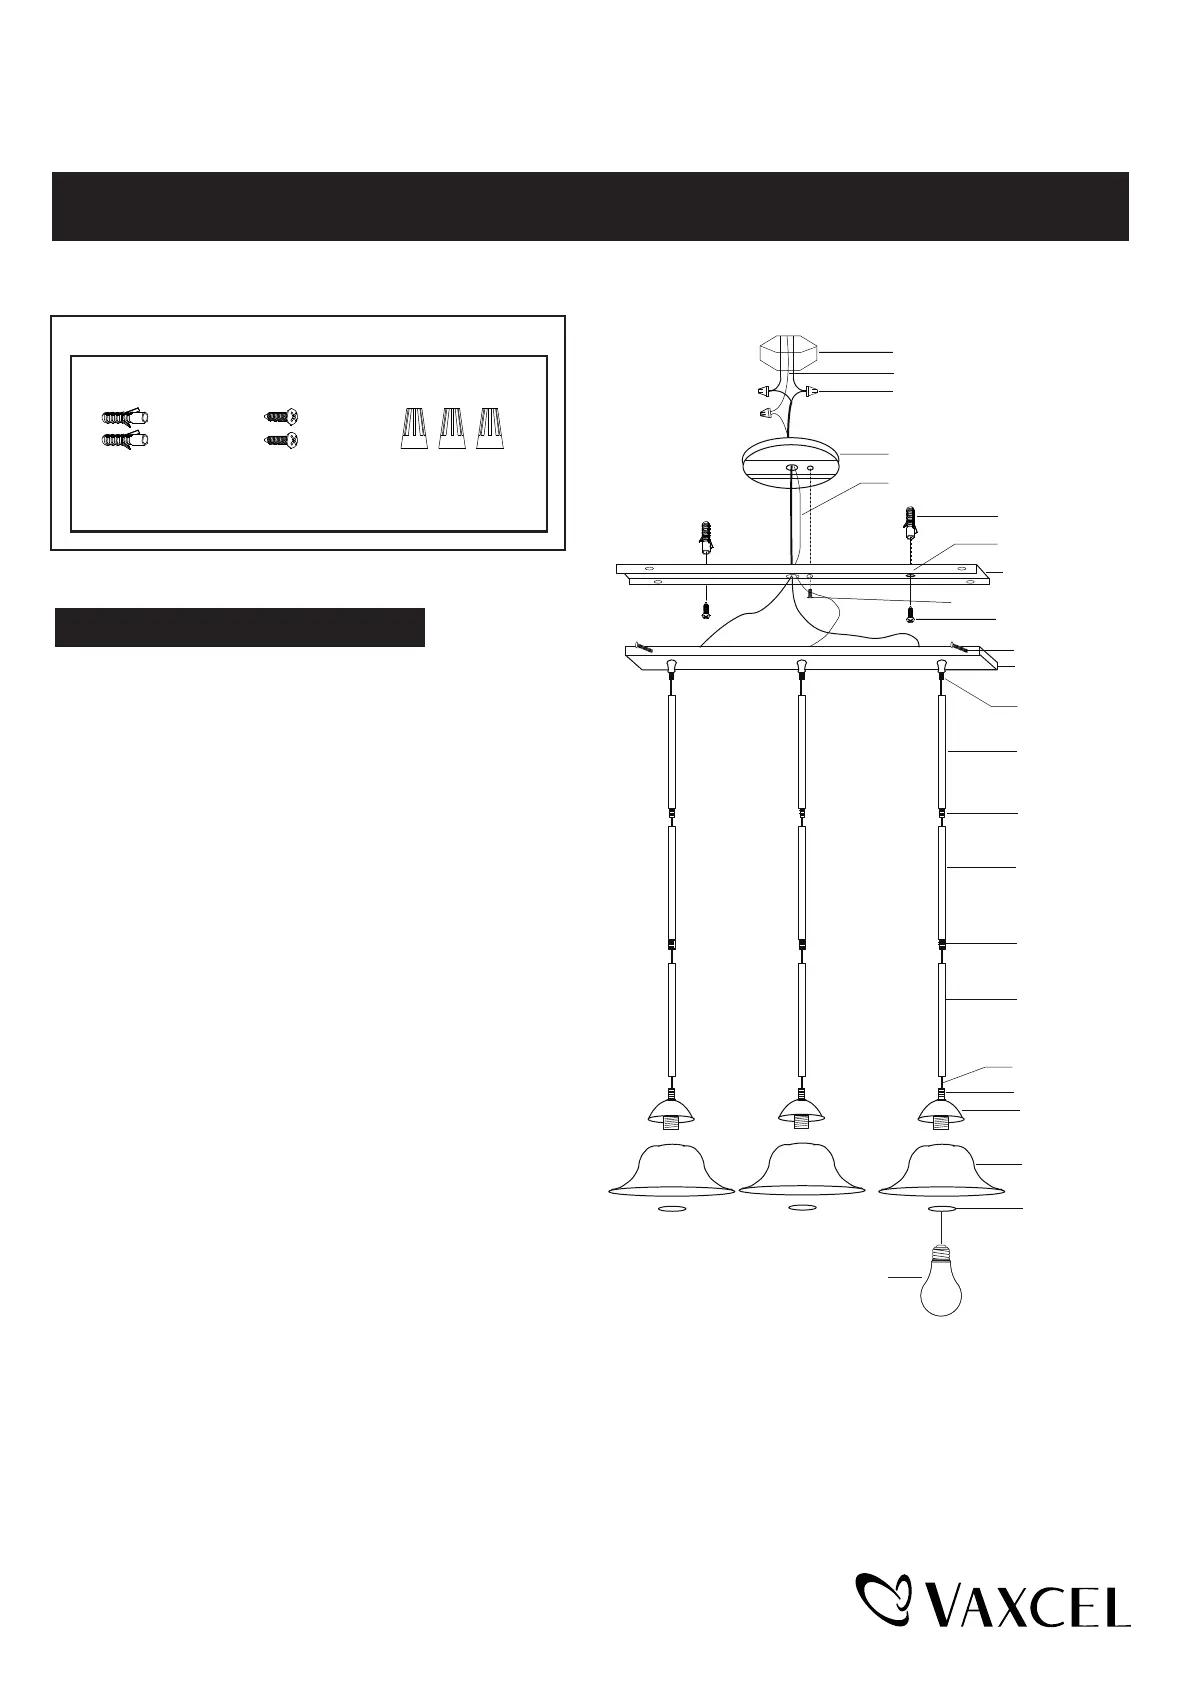
Vaxcel PD5027 Manual
| Mærke: | Vaxcel |
| Kategori: | Lys |
| Model: | PD5027 |
Har du brug for hjælp?
Hvis du har brug for hjælp til Vaxcel PD5027 stil et spørgsmål nedenfor, og andre brugere vil svare dig
Lys Vaxcel Manualer

23 December 2025

23 December 2025

23 December 2025

23 December 2025

23 December 2025

23 December 2025

23 December 2025

23 December 2025

23 December 2025

23 December 2025
Lys Manualer
- Capture Atlas
- Wireless Solution
- Stanley
- Müller Licht
- Luxli
- Hinkley Lighting
- ACR
- Dennerle
- Metalux
- SPT
- Mio
- Sanitas
- Ledlenser
- Näve
- ART
Nyeste Lys Manualer

23 December 2025

23 December 2025

23 December 2025

21 December 2025

21 December 2025

21 December 2025

21 December 2025

21 December 2025

21 December 2025

21 December 2025