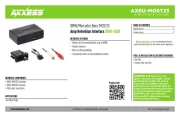
AXAC-CH5
INSTALLATION INSTRUCTIONS
AxxessInterfaces.com © COPYRIGHT 2024 METRA ELECTRONICS CORPORATION REV. 7/3/25 INSTAXAC-CH5
ATTENTION: With the key out of the ignition,
disconnect the negative battery terminal before
installing this product. Ensure that all installation
connections, especially the air bag indicator lights,
are plugged in before reconnecting the battery or
cycling the ignition to test this product.
NOTE:
Refer also to the instructions included with
the aftermarket accessory before installing this device.
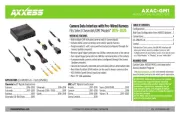
INTERFACE FEATURES
TOOLS REQUIRED
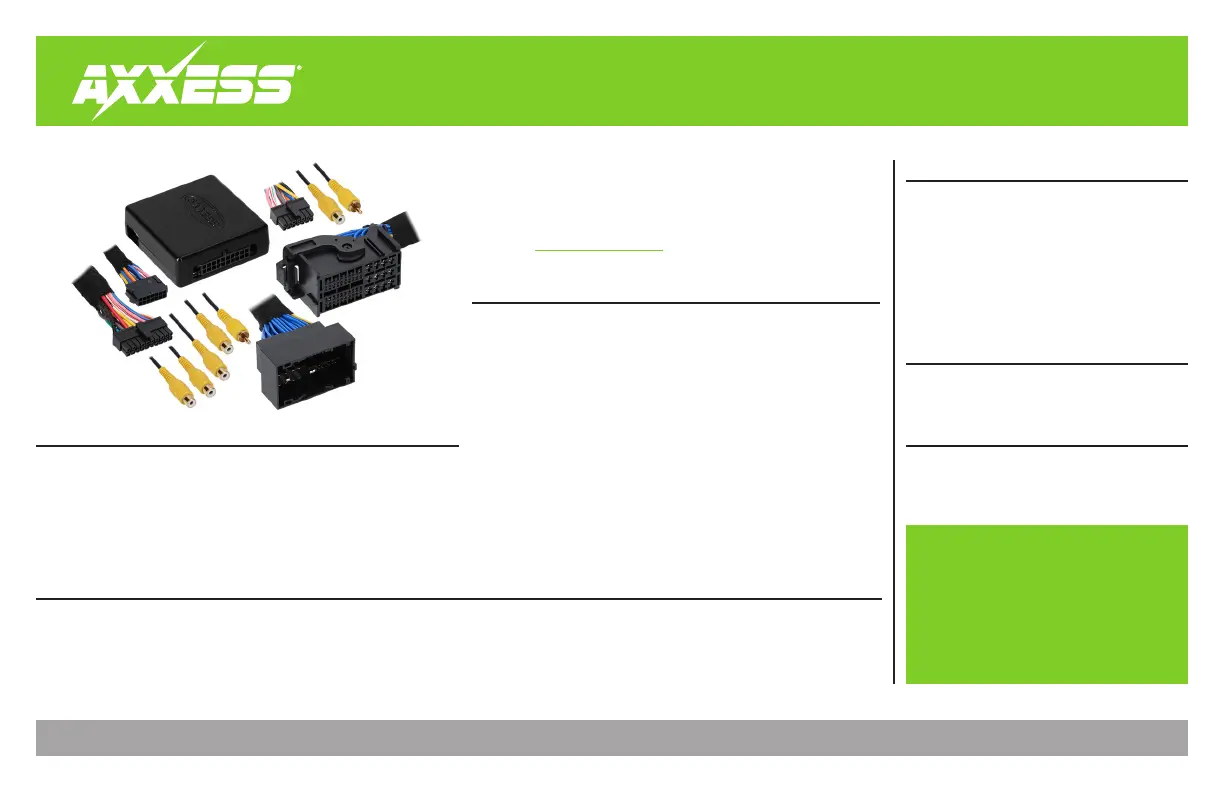
INTERFACE COMPONENTS
REQUIRED ITEMS
TABLE OF CONTENTS
Introduction ...........................................................2
Configuration ..................................................... 2-4
Connections ............................................................5
Installation .............................................................6
Programming .........................................................6
Rebooting the U-Connect Radio ..........................7
• Add multiple CAN-activated cameras with 4 camera inputs
• Includes AXAC camera interface and vehicle-specific harness
• Programmable 12-volt 5-amp switched output (configured through the
Axxess Updater program)
•
Reverse signal trigger generated via CAN bus communication of the vehicle
• Turn signal trigger generated via CAN bus communication of the vehicle
• 4 programmable camera control wires (configured through the Axxess
Updater program)
•
Can also be manually controlled and used along with an aftermarket radio
• VSS (Vehicle Speed Sense) input and output
• Micro “B” USB updatable
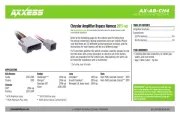
• Crimping tool and connectors, or solder gun,
solder, and heat shrink • Tape • Wire cutter
• Zip ties
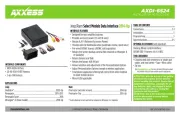
• AXAC-CH5 interface
• AXAC-CH5 interface harness
• AXAC-CH5 vehicle harness
Update Cable: AXUSB-MCBL (sold separately)
Axxess Updater Program
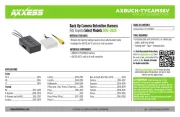
Camera Data Interface w/Pre-Wired
Harness
Fits Select Chrysler Models
2013-2023
APPLICATIONS
Dodge
Challenger (w/uConnect Radio) ...... 2015-2023
Charger (w/uConnect Radio) ........... 2015-2023
Durango (w/uConnect Radio) ........... 2014-2021
Jeep
Grand Cherokee
(w/8.4 uConnect Radio) ................. 2014-2021
RAM
1500 (DS chassis code) ............................2019
1500/2500/ 3500 ............................. 2013-2018
Visit AxxessInterfaces.com for more detailed information
about the product and up-to-date vehicle specific applications