EXSYS EX-11094 Manual
EXSYS
Netværkskort/adapter
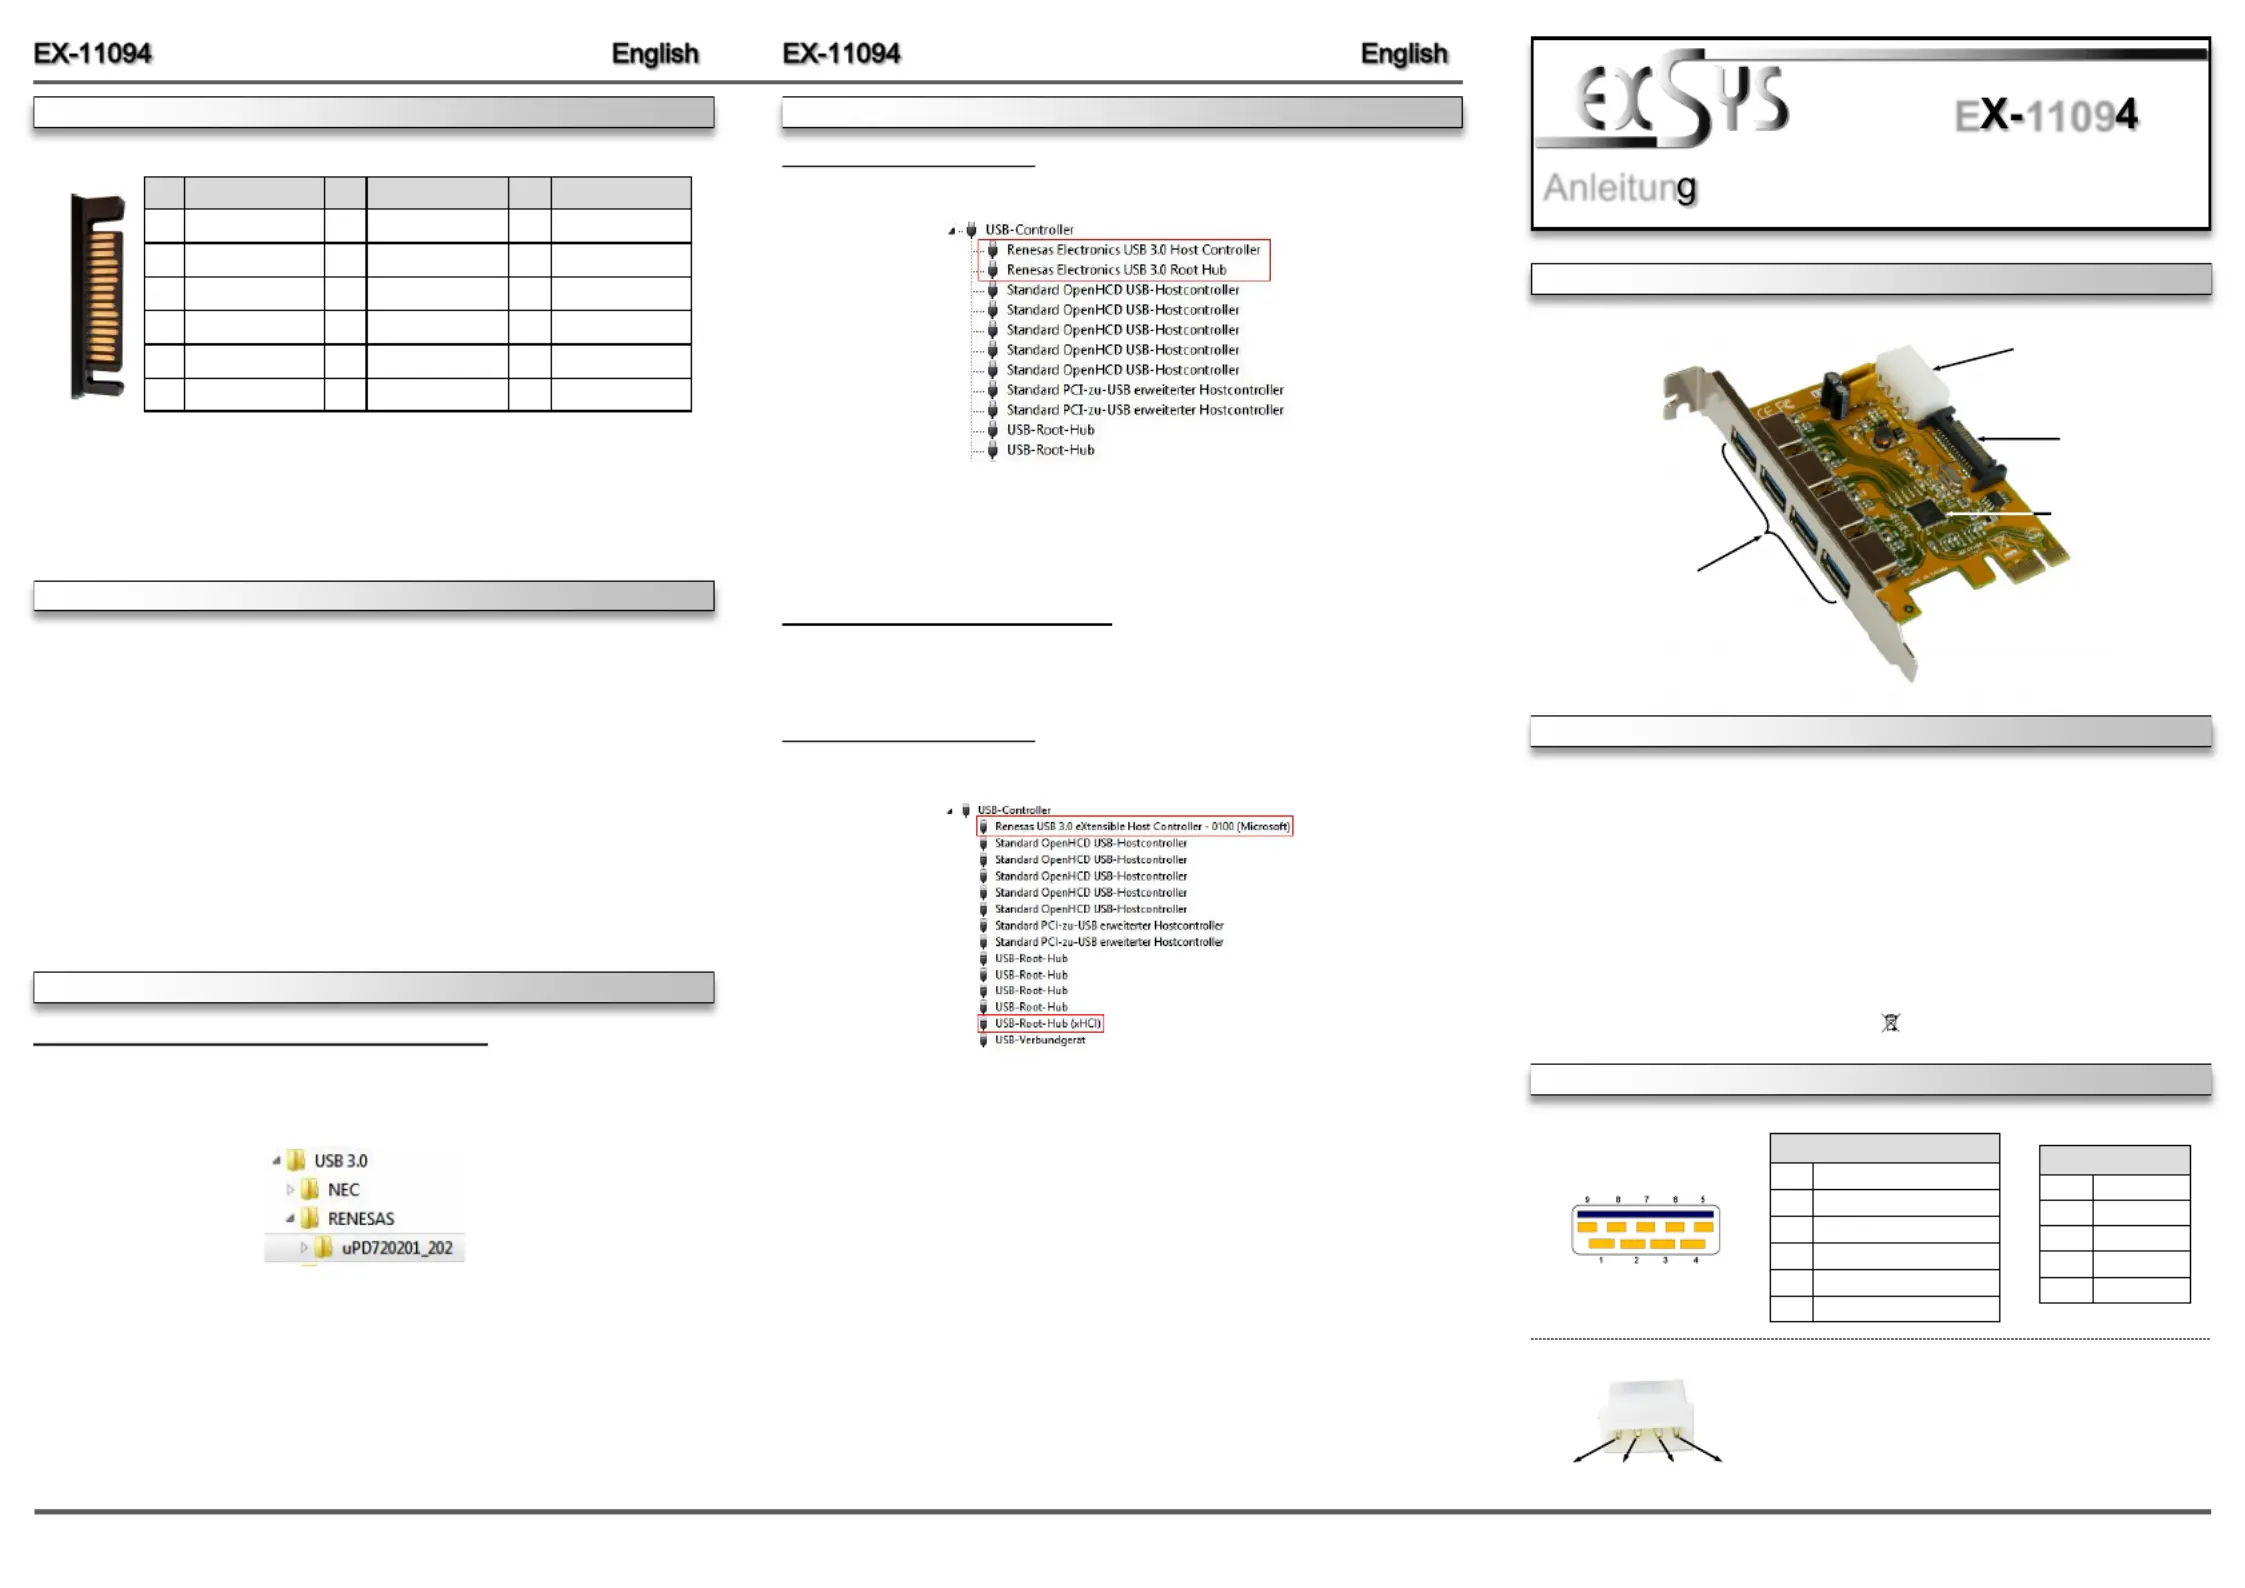
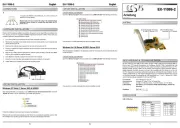
EX-11094
| Mærke: | EXSYS |
| Kategori: | Netværkskort/adapter |
| Model: | EX-11094 |
| Bredde: | 65 mm |
| Dybde: | 94 mm |
| Vægt: | 200 g |
| Opbevaringstemperatur (T-T): | -30 - 75 °C |
| Relativ luftfugtighed ved drift (H-H): | 5 - 95 % |
| Antal USB 3.2 Gen 1 (3.1 Gen 1) type-A-porte: | 4 |
| Driftstemperatur (T-T): | 0 - 55 °C |
| Certificering: | CE, FCC |
| Bæredygtighedscertifikater: | RoHS |
| Understøttede Windows-operativsystemer: | Ja |
| Værtsgrænseflade: | PCIe |
| Intern: | Ja |
| Dataoverførselshastighed: | 5 Gbit/sek. |
| Output-grænseflade: | USB 3.2 Gen 1 (3.1 Gen 1) |
| Chipsæt: | Renesas |
Har du brug for hjælp?
Hvis du har brug for hjælp til EXSYS EX-11094 stil et spørgsmål nedenfor, og andre brugere vil svare dig
Netværkskort/adapter EXSYS Manualer

28 November 2025

28 November 2025
13 November 2025
11 November 2025
24 Juli 2025
23 Juli 2025
23 Juli 2025
22 Juli 2025
22 Juli 2025
22 Juli 2025
Netværkskort/adapter Manualer
- ZyXEL
- Vivanco
- Kenwood
- Intermec
- Alecto
- Hamlet
- Ubiquiti Networks
- Geovision
- Atto
- AVM
- Philips
- NUVO
- Devolo
- Riello
- J5 Create
Nyeste Netværkskort/adapter Manualer

18 December 2025

17 December 2025

7 December 2025

29 November 2025

29 November 2025

28 November 2025

28 November 2025

27 November 2025

27 November 2025

26 November 2025