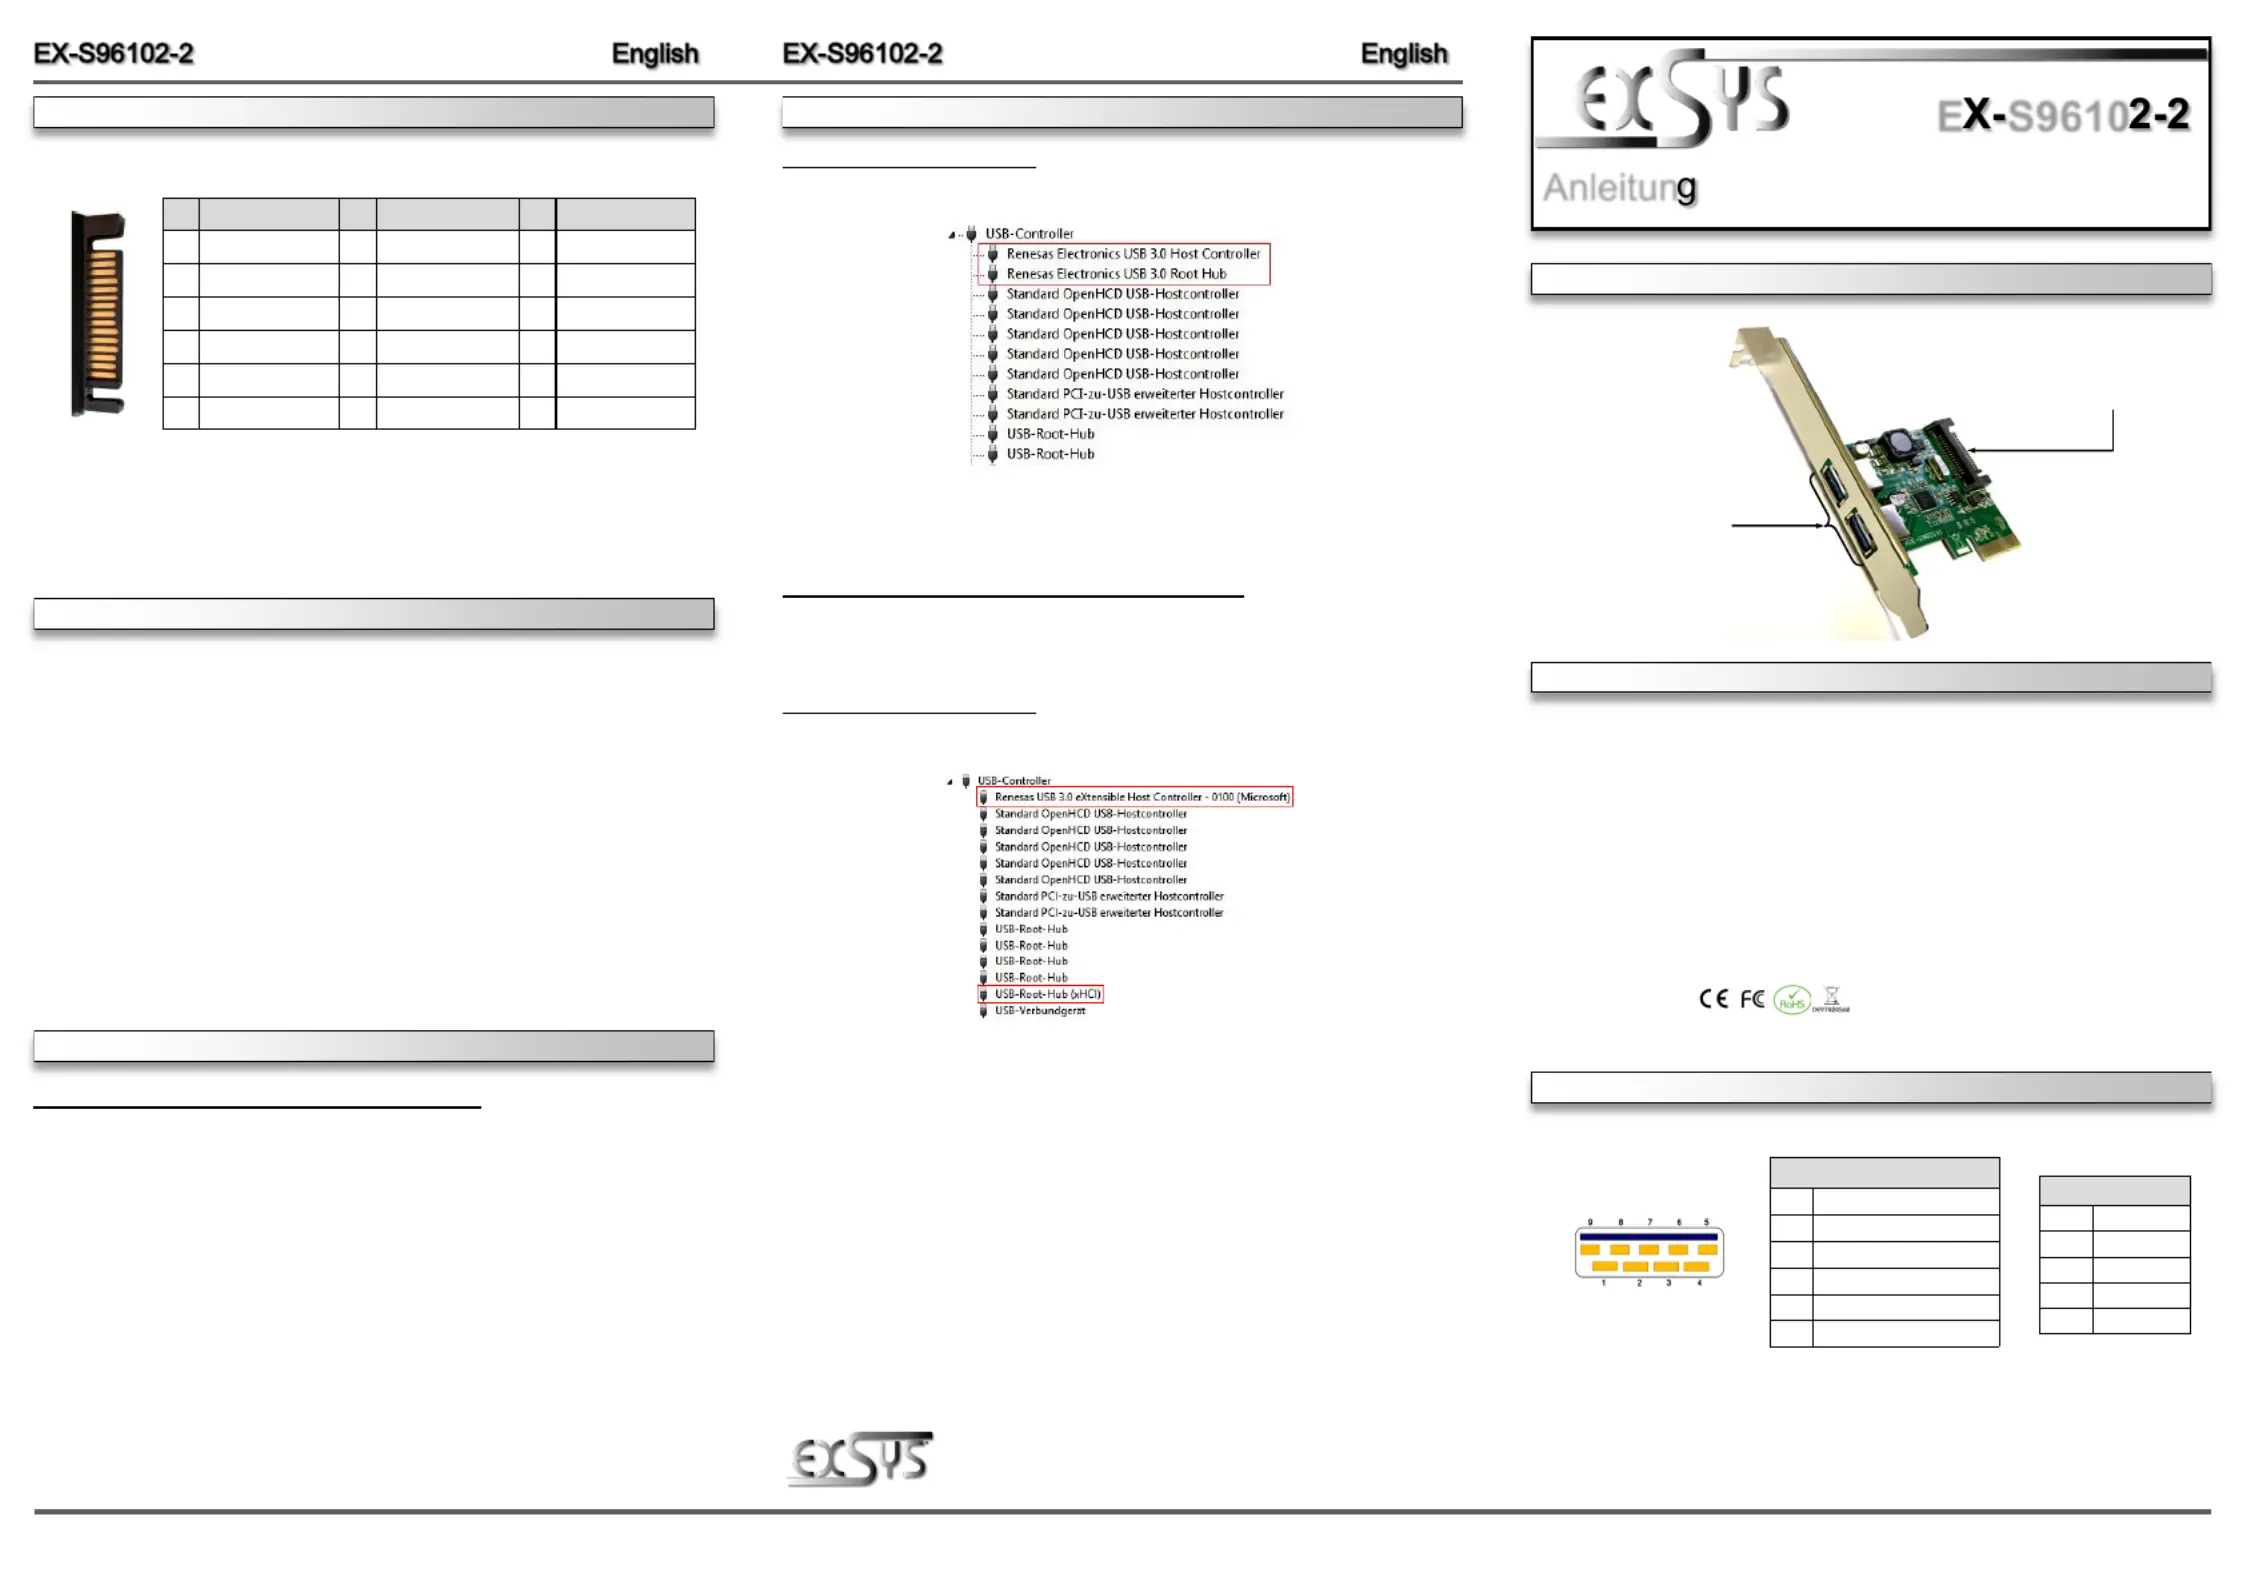
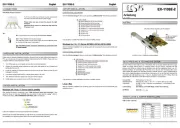
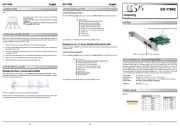
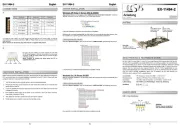
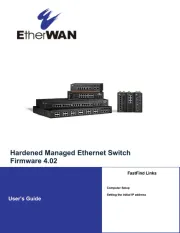
EXSYS EX-S96102-2 Manual
EXSYS
Netværkskort/adapter
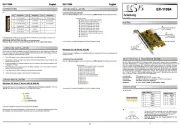
EX-S96102-2
| Mærke: | EXSYS |
| Kategori: | Netværkskort/adapter |
| Model: | EX-S96102-2 |
Har du brug for hjælp?
Hvis du har brug for hjælp til EXSYS EX-S96102-2 stil et spørgsmål nedenfor, og andre brugere vil svare dig
Netværkskort/adapter EXSYS Manualer
24 Juli 2025
23 Juli 2025
23 Juli 2025
22 Juli 2025
22 Juli 2025
22 Juli 2025
22 Juli 2025
22 Juli 2025
22 Juli 2025
28 Juni 2025
Netværkskort/adapter Manualer
- Cudy
- Gembird
- Yamaha
- EQ3
- Conceptronic
- Emtec
- OSD Audio
- Raidsonic
- Star Micronics
- ATen
- AVM
- Extron
- CradlePoint
- Manhattan
- Totolink
Nyeste Netværkskort/adapter Manualer

4 November 2025
13 Oktober 2025
12 Oktober 2025
8 Oktober 2025
8 Oktober 2025
8 Oktober 2025
8 Oktober 2025
8 Oktober 2025

8 Oktober 2025

8 Oktober 2025