EXSYS EX-42378 Manual
Læs gratis den danske manual til EXSYS EX-42378 (10 sider) i kategorien Ikke kategoriseret. Denne vejledning er vurderet som hjælpsom af 10 personer og har en gennemsnitlig bedømmelse på 4.6 stjerner ud af 5.5 anmeldelser.
Har du et spørgsmål om EXSYS EX-42378, eller vil du spørge andre brugere om produktet?
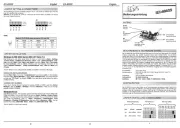
Produkt Specifikationer
| Mærke: | EXSYS |
| Kategori: | Ikke kategoriseret |
| Model: | EX-42378 |
| Bredde: | 150 mm |
| Dybde: | 60 mm |
| Vægt: | 1200 g |
| Brugervejledning: | Ja |
| Relativ luftfugtighed ved drift (H-H): | 5 - 95 % |
| Driftstemperatur (T-T): | -40 - 75 °C |
| Bæredygtighedscertifikater: | RoHS |
| Understøttede Windows-operativsystemer: | Windows 10 Education, Windows 10 Enterprise, Windows 7 Enterprise, Windows 7 Enterprise x64, Windows 7 Home Basic, Windows 7 Home Basic x64, Windows 7 Home Premium, Windows 7 Home Premium x64, Windows 7 Professional, Windows 7 Professional x64, Windows 7 Starter, Windows 7 Starter x64, Windows 7 Ultimate, Windows 7 Ultimate x64, Windows 8, Windows 8.1, Windows 98, Windows 98SE, Windows ME, Windows XP Home, Windows XP Home x64, Windows XP Professional, Windows XP Professional x64 |
| Understøttede Linux-operativsystemer: | Ja |
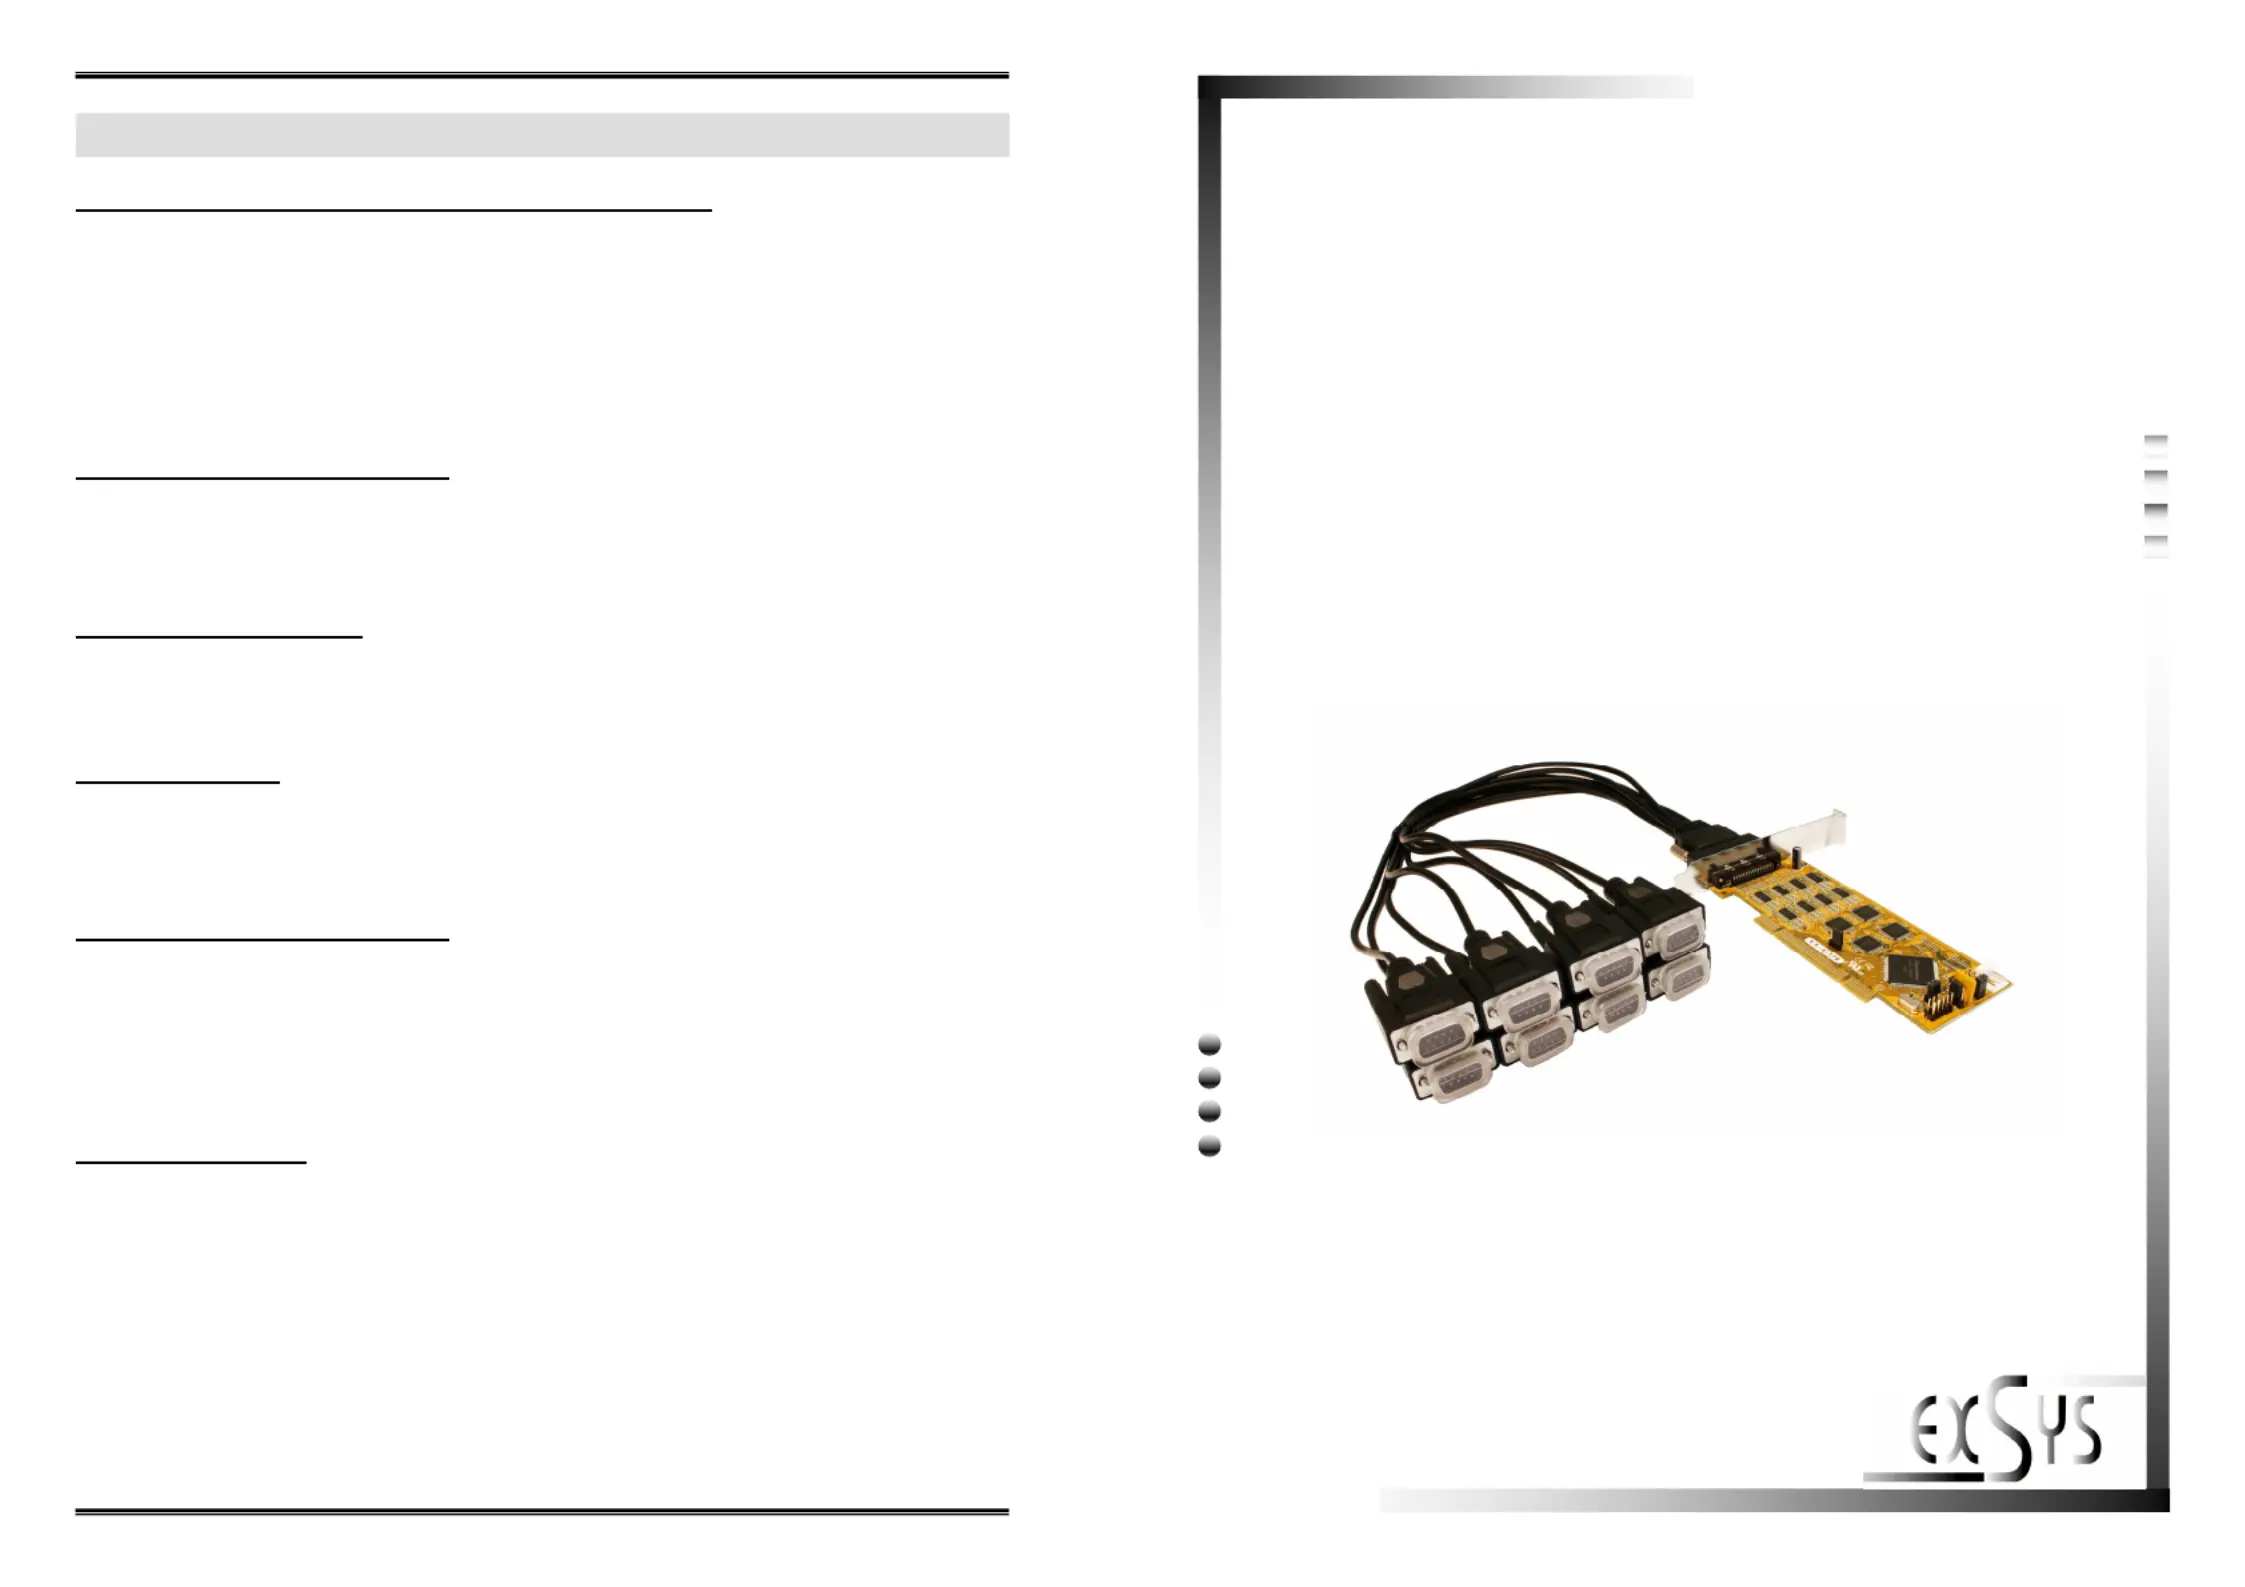
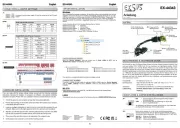
| Værtsgrænseflade: | PCI |
| Intern: | Ja |
| Drivere inkluderet: | Ja |
| Understøttede operativsystemer til servere: | Windows Server 2003, Windows Server 2003 R2, Windows Server 2003 x64, Windows Server 2008, Windows Server 2008 R2, Windows Server 2008 R2 x64, Windows Server 2008 x64 |
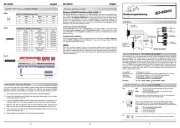
| Seriel grænsefladetype: | RS-232/422/485 |
| Antal serielle porte: | 8 |
| Output-grænseflade: | Seriel |
| FIFO (først ind, først ud): | 256 B |
Har du brug for hjælp?
Hvis du har brug for hjælp til EXSYS EX-42378 stil et spørgsmål nedenfor, og andre brugere vil svare dig
Ikke kategoriseret EXSYS Manualer
Ikke kategoriseret Manualer
- Atosa
- Electronics International
- HuddleCamHD
- SAMAC
- Equip
- Fantec
- Silver Style
- Sharp
- Binatone
- 4smarts
- Singularity Computers
- Aurora
- Ritter
- Trinnov
- Rival
Nyeste Ikke kategoriseret Manualer